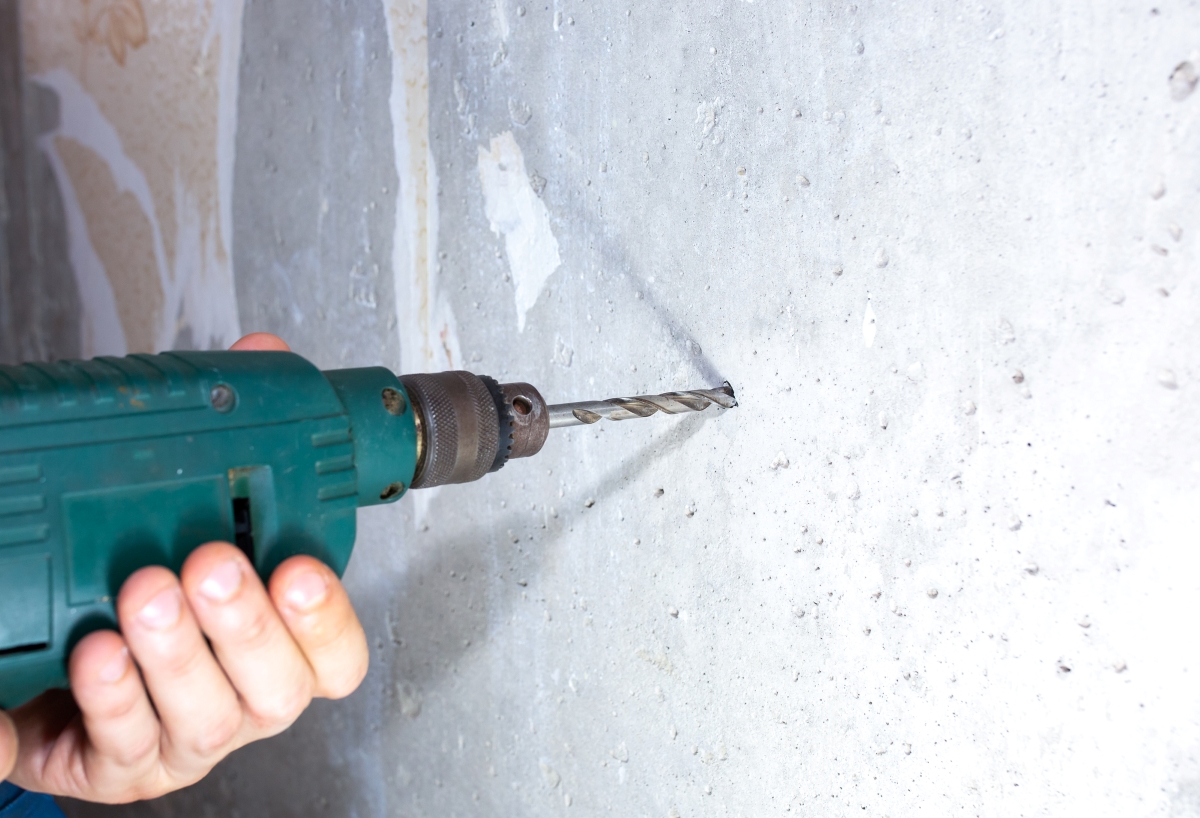
Drill with a hammer drill, a carbide masonry bit, and steady pressure for clean, safe holes.
I’ve drilled many concrete walls for shelves, cabinets, and outdoor fixtures. In this guide I share step-by-step instructions, tool choices, safety tips, and real-world lessons so you can learn how to drill into concrete walls like a pro. You’ll get clear choices for bits and anchors, troubleshooting steps for common problems, and practical tips from jobs I’ve done. Read on to save time, avoid mistakes, and get strong, reliable fixings in concrete.
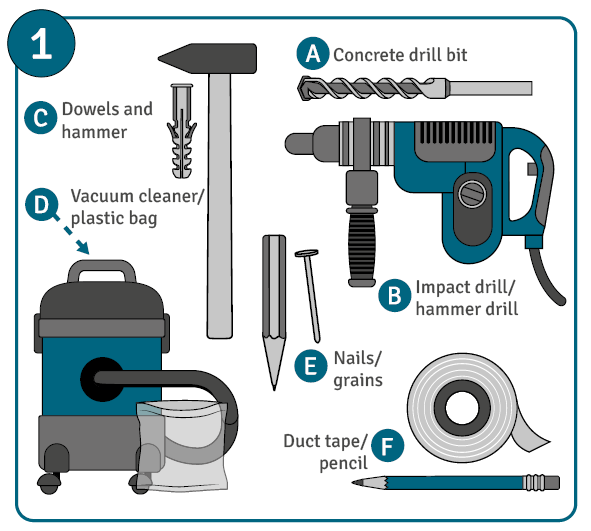
Tools and materials for drilling into concrete walls
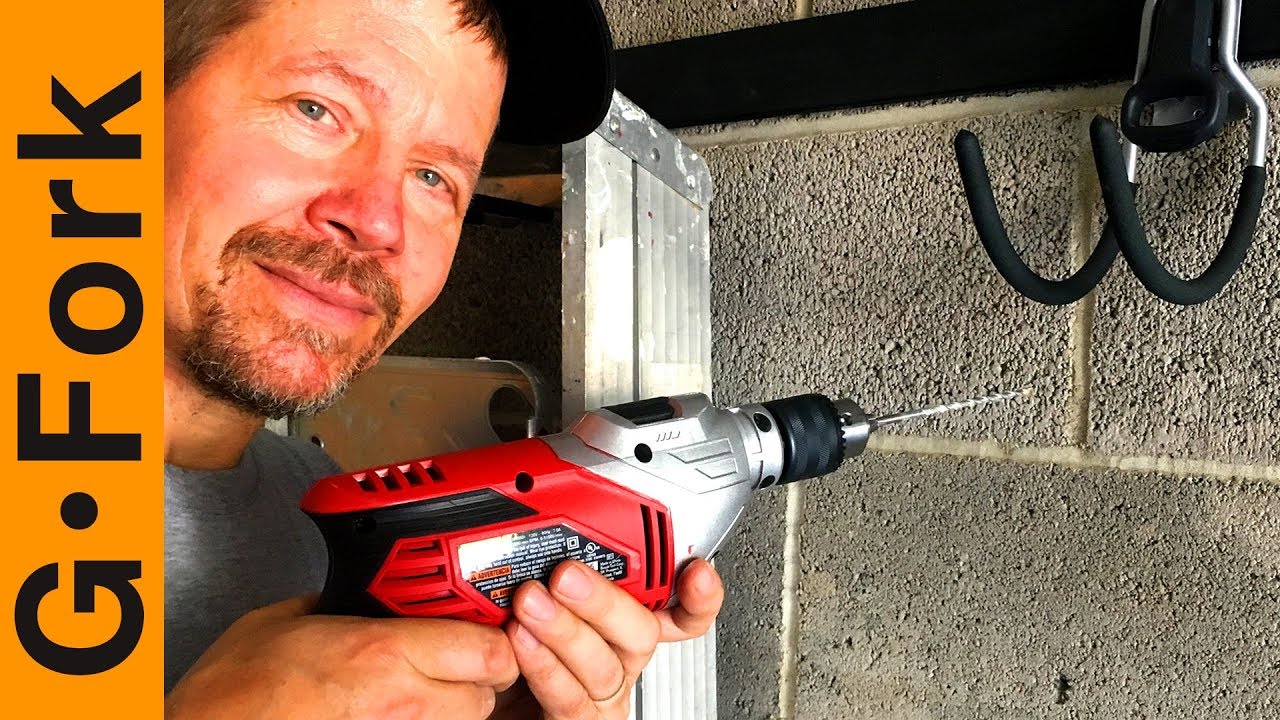
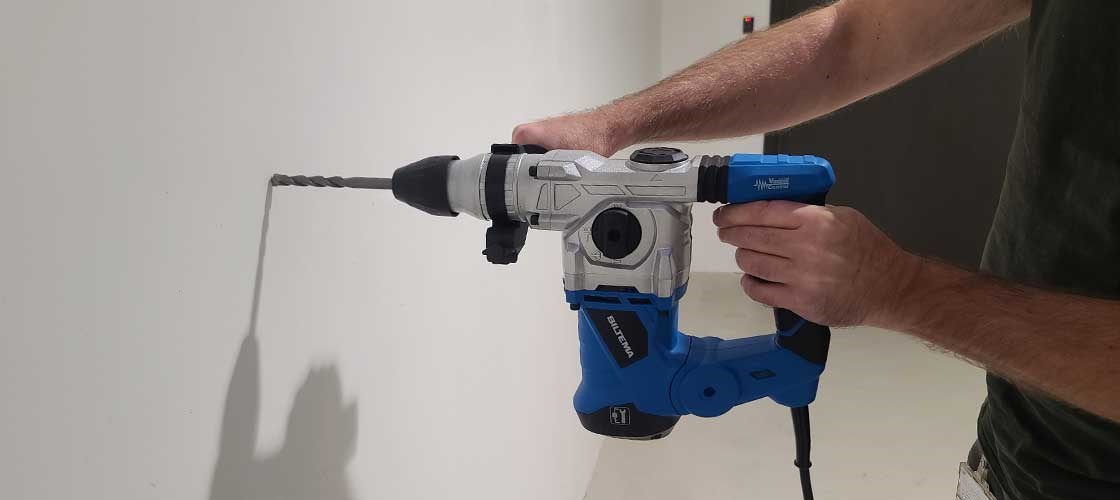
Use the right tools. A hammer drill is the most common choice for home work. An SDS hammer drill gives faster results and longer bit life. Carbide-tipped masonry bits match concrete best. You will also need anchors, a tape measure, pencil, vacuum or brush, and safety gear. For bigger holes use a rotary hammer or diamond bit core.
Essential items:
- Hammer drill or SDS rotary hammer
- Carbide masonry drill bits of various sizes
- Anchors: sleeve, wedge, plastic, or chemical
- Safety gear: eye protection, N95 mask, hearing protection, gloves
- Tape measure, pencil, center punch, and level
- Vacuum, brush, or dust extractor to clear holes
Preparing the wall and planning the hole
Good planning prevents big problems. Locate embedded items before you drill. Use a wall scanner or stud finder that detects metal and live wires. Mark the spot and check both sides of the wall when possible. Choose anchor type based on load and wall thickness.
Steps to prepare:
- Scan the wall for rebar, conduit, or pipes.
- Mark positions and measure distances from edges.
- Choose bit diameter that matches the anchor or fastener.
- Consider drilling a small pilot hole first to steady the bit.
Step-by-step guide: how to drill into concrete walls
Follow an ordered approach for clean holes and fewer headaches. Use small, steady steps rather than forcing the drill. Keep the drill aligned and avoid side pressure that can break bits or chip concrete.
Step-by-step:
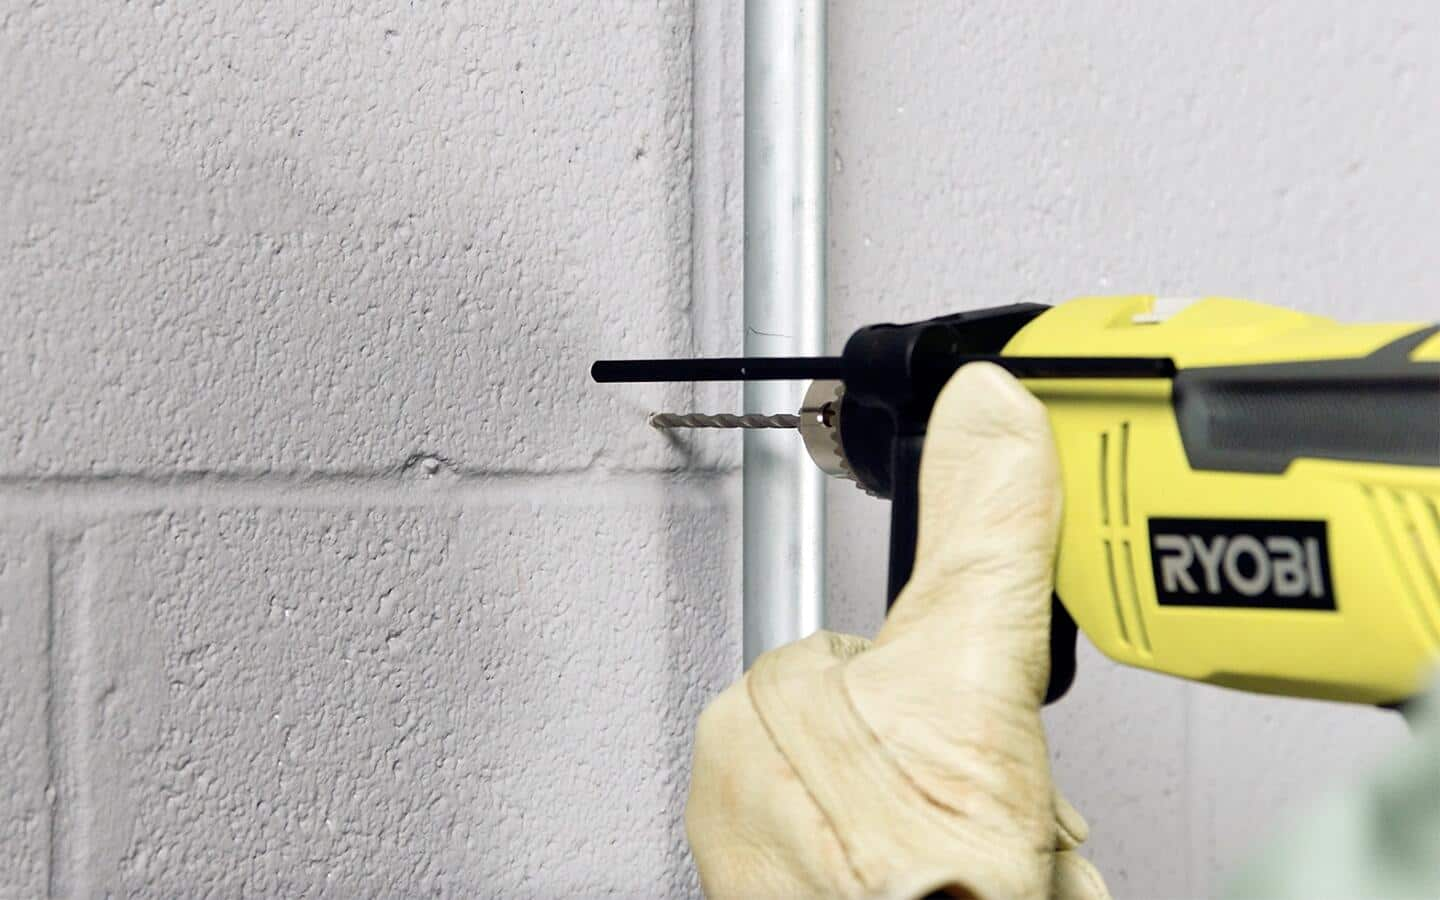
- Mark the hole center clearly with a pencil. Tap lightly with a center punch if needed.
- Fit a small pilot masonry bit (1/8" or 3 mm) and drill slowly to create a guide hole for large bits.
- Switch to the final carbide masonry bit sized for your anchor. If using an SDS drill, use SDS bits.
- Set the drill to hammer mode for reinforced or dense concrete. Use rotary-only for hollow block or soft mortar.
- Start drilling at low speed to seat the bit. Apply steady, moderate pressure. Let the tool do the work.
- Pull the bit out every 10–20 seconds to clear dust. Use a vacuum or blow out the dust.
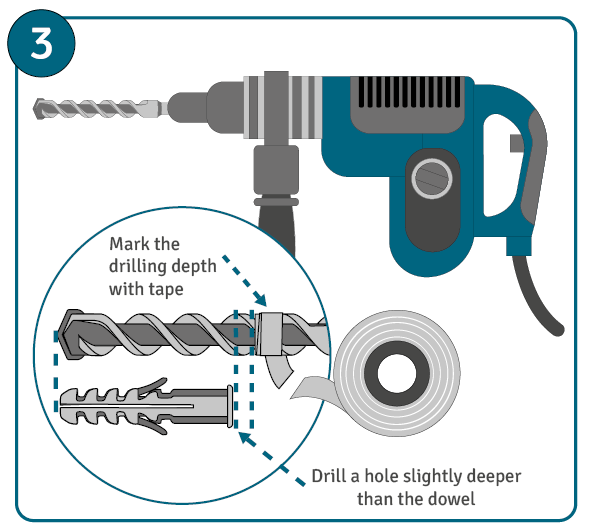
- Drill to the required depth. Use tape on the bit to mark depth or a depth stop.
- Clean the hole thoroughly before inserting the anchor. Remove dust with a vacuum or pump out with compressed air.
Common drilling tips:
- Don’t force the drill; pushing too hard shortens bit life.
- If the bit jams, reverse the drill to free it.
- For deep holes, alternate drilling and clearing to avoid clogging.
Choosing anchors and fasteners for concrete
Pick anchors that match load needs and concrete type. Light loads use plastic or screw anchors. Medium to heavy loads use sleeve anchors, wedge anchors, or chemical anchors. Chemical anchors give the highest strength for heavy fixtures.
Anchor types and uses:
- Plastic anchors: Light fixtures and shelving in non-structural uses.
- Screw anchors (self-tapping masonry screws): Medium loads, easy to install.
- Sleeve anchors: Good for through-bolting into solid concrete.
- Wedge anchors: High strength for heavy items and structural attachments.
- Chemical (epoxy) anchors: Highest load capacity, used where vibration or high tension exists.
Installation notes:
- Match anchor diameter to bit size. Follow manufacturer torque recommendations.
- For hollow block, locate concrete face or use toggle-style anchors for the void.
- For wet or cold conditions, use anchors rated for those environments.
Common problems and fixes when drilling concrete
Problems happen. Most are easy to fix with the right technique. Anticipate dust, bit wear, and hitting rebar.
Common issues and solutions:
- Bit wandering at start: Use a pilot hole or center punch to keep the bit centered.
- Bit overheating or dulling: Stop periodically, let the bit cool, and use fresh bits for harder concrete.
- Clogged holes: Pull out the bit often and clean the hole with a vacuum or brush.
- Hitting rebar: Stop, switch to a carbide bit designed for metal or relocate the hole slightly.
- Concrete chipping at the surface: Use a backing board or drill slowly at the entry, then increase speed.
Safety when drilling into concrete walls
Concrete dust and tool vibration are real hazards. Protect yourself and others. Take time to set up safe work conditions before drilling.
Safety checklist:
- Wear eye protection, hearing protection, and an N95 dust mask.
- Use gloves and sturdy footwear.
- Keep cords away from the drill path. Use a GFCI outlet for electric tools.
- Ventilate the work area and use a dust extractor where possible.
- Check for live wires and plumbing before drilling.
- Take breaks to avoid hand-arm vibration syndrome on long jobs.
Personal experience and practical tips
I once tried drilling a row of holes with an old bit. The holes filled quickly with dust. I learned to change bits sooner and use a vacuum. Using an SDS rotary hammer cut time in half for a basement project. My best tips come from those mistakes.
Practical lessons:
- Start with a pilot bit to stop wandering. It saves time.
- Replace bits at the first sign of wear. A sharp bit cuts faster and stays cooler.
- For repetitive holes, use a drill stand or guide for perfect alignment.
- Test fasteners on scrap concrete if possible.
- Consider hiring a pro for structural attachments or unknown conditions.
Advanced techniques and alternatives
Sometimes simple drilling won’t do the job. For large holes, consider core cutters or diamond bits. For load-bearing or precision work, use chemical anchors or consult an engineer.
Advanced options:
- Diamond core drilling for large pipes or clean openings.
- Rotary hammer with SDS-max bits for heavy-duty jobs.
- Chemical anchoring for very high loads or cracked concrete.
- Wet drilling when dust control is critical, using appropriate equipment.
Limitations and when to hire a pro:
- Large structural attachments or unknown wall composition.
- When drilling near load-bearing elements, utilities, or rebar congestion.
- If you need very precise holes or finishes.

Frequently Asked Questions of how to drill into concrete walls
What drill is best for drilling into concrete walls?
A hammer drill or SDS rotary hammer is best. SDS rotary hammers are faster and handle larger bits better than a standard hammer drill.
How do I stop the drill bit from wandering on concrete?
Start with a small pilot hole or use a center punch. Hold the drill perpendicular and begin at low speed to seat the bit.
Can I use regular drill bits on concrete?
Regular high-speed steel bits wear quickly on concrete. Use carbide-tipped masonry bits or SDS bits for durability and speed.
How deep should I drill for an anchor?
Drill to the anchor's specified embedment depth plus a little extra for dust. Mark the bit with tape to control depth.
How do I clean dust from a drilled concrete hole?
Use a vacuum or compressed air to clear dust. Pull the bit out periodically during drilling to prevent clogging.
What if I hit rebar while drilling?
Stop immediately. Switch to a carbide bit rated for metal or move the hole slightly if possible. If rebar is structural, consult a professional.
Is wet drilling necessary for concrete?
Wet drilling reduces dust and heat for large or diamond-drilling jobs. For handheld hammer drills, dry drilling with dust extraction is safer.
Conclusion
You can drill into concrete walls safely and cleanly with the right tools, good planning, and steady technique. Use a hammer drill or rotary hammer, choose carbide masonry bits, clean holes well, and pick anchors that match the load. Start small, work methodically, and follow safety steps to avoid costly mistakes. Try a small test hole first, and if the job seems complex, call a pro. If this guide helped, try the steps on a simple fixture this weekend and leave feedback or questions below — I’ll help you troubleshoot.