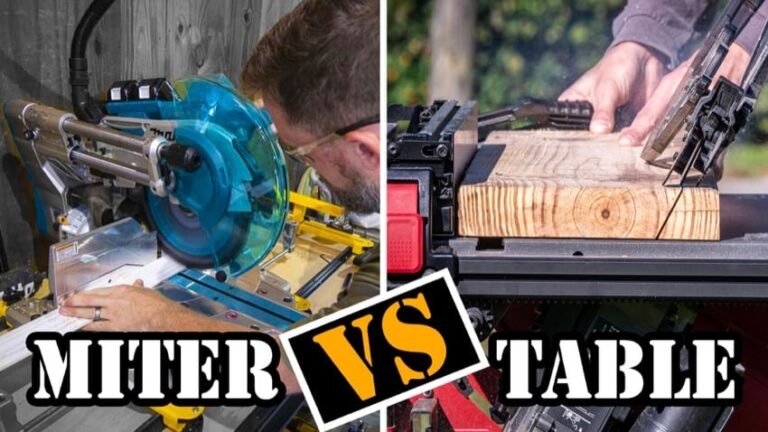
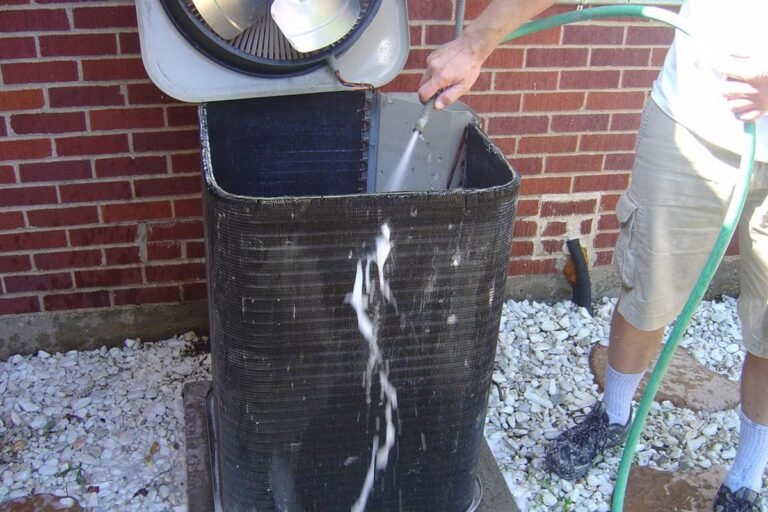
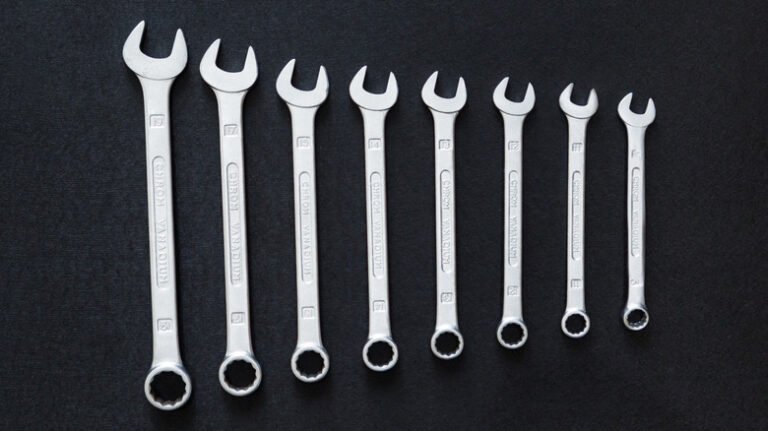
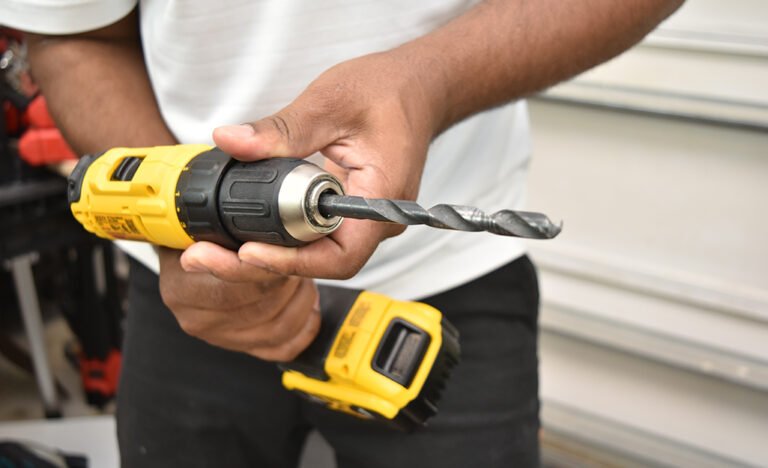
Tool fleet management is the process of tracking, assigning, maintaining, securing, and planning all tools and equipment used by a contractor. A good system shows what the company owns, where each item is, who is responsible for it, and when it needs service or replacement.
On a U.S. construction site, tools can move between a company shop, service trucks, storage trailers, and several active jobs. A drill may leave one crew, enter another truck, and end up at a new site before the office updates its records. These small gaps can lead to lost tools, extra purchases, and work delays.
Tool fleet management gives contractors a clear way to control these movements. It covers hand tools, power tools, batteries, chargers, specialty equipment, generators, compressors, and other jobsite assets. It also covers rented equipment and tools assigned to workers.
The goal is not to track every small item with costly technology. The goal is to know what matters, assign clear responsibility, and keep useful equipment ready for work. A spreadsheet may serve a small crew, while a larger contractor may need asset software, QR codes, and location trackers.
This guide explains how to build a practical system for U.S. contractors and professional crews. It also covers maintenance, job planning, tool security, rental decisions, cost control, and worker responsibility. The safety guidance reflects applicable OSHA construction rules and should be used alongside manufacturer instructions and site-specific requirements.
Source: contractormag.com
What Is Tool Fleet Management?
Tool fleet management is the organized control of tools and equipment used across a contracting business. It covers the full life of each asset, from purchase and assignment to repair, resale, or disposal. It also keeps records of equipment that a company rents or leases.
Think of a tool fleet as a shared work kit for the whole business. Some items stay with one worker. Others move between crews and job sites. A good system keeps both groups visible.
Tool fleet management is more than making an inventory list. An inventory tells you what you own. Fleet management also tells you who has each item, whether it works, where it should go next, and what it costs to keep.
Hand tools
Hammers, wrenches, pliers, levels, clamps, measuring tools, and other daily-use items.
Batteries, chargers, extension cords, portable power stations, and related equipment.
Large equipment
Generators, air compressors, compactors, pumps, welding machines, and other mobile equipment.
Specialty equipment
Laser levels, testing meters, pipe tools, inspection devices, and equipment that needs calibration.
Transport and storage assets
Tool trailers, job boxes, storage cabinets, and service vehicles used to move or protect tools.
Tool Fleet Management vs. General Inventory Management
General inventory management often focuses on stock levels and purchases. Tool fleet management focuses on equipment that workers use again and again. It needs records for location, custody, condition, repairs, and use.
Consumables need a different method. Screws, drill bits, blades, tape, and fittings are usually tracked by quantity. A contractor does not need a unique GPS record for every screw or blade.
This difference helps control costs. Track valuable tools as individual assets and manage low-cost supplies as stock.
Individual asset tracking
Use unique records for items that are costly, shared, mobile, or hard to replace.
Quantity-based stock tracking
Track consumables through opening stock, purchases, issues, and reorder levels.
Build a Central Tool and Equipment Register
A central asset register is the foundation of a reliable tool fleet. It gives managers one place to check what the business has and where each item belongs. Without it, crews may rely on old lists, memory, or messages that never reach the office.
Start with the tools that would cause a major cost or work delay if they went missing. Include expensive power tools, specialty equipment, generators, compressors, and shared measuring devices. Add other items as the process becomes easier to manage.
Give every tracked asset a unique ID. This ID should stay with the item throughout its working life. Do not use a worker’s name or a job number as the permanent asset ID, because both can change.
Asset identification
Record the asset ID, brand, model, serial number, asset category, and a clear photo.
Purchase details
Record the purchase date, original cost, supplier, warranty, and expected service life.
Ownership details
Mark each item as company-owned, rented, leased, subcontractor-owned, or employee-owned.
Assignment details
Record the current custodian, crew, project, truck, or storage location.
Condition details
Use clear statuses such as available, assigned, in transit, under repair, out of service, missing, or retired.
Keep asset IDs short and easy to read. A simple code can use a category prefix and a number. For example, PWR-001 could identify a power tool, while GEN-001 could identify a generator.
Use a durable label that can handle dust, water, heat, and normal jobsite wear. Place it where a worker can scan or read it without covering a safety label, air vent, moving part, or grip area.
Record the serial number as well as the company ID. The company ID supports daily control. The serial number helps identify the exact item during a warranty claim, repair, or theft report.
Keep IDs unique
Never assign the same asset number to two different tools.
Protect original labels
Do not cover manufacturer labels, warning signs, or required product information.
Record replacement tags
If a label falls off, update the record rather than creating a second asset.
Choose the Right Tool Tracking Method
The best tracking method depends on the asset, its value, and how often it moves. A small contractor may only need a shared spreadsheet and a check-out sheet. A business with several crews may need software and mobile scanning.
Do not assume that every tool needs live GPS. A location tracker and a custody record solve different problems. A tracker may show where an item was last seen, but it may not show which worker is responsible for it.
For most contractors, a basic custody system should come first. Add location technology when the cost of finding or losing an asset makes the extra expense worthwhile.
Paper sign-out sheets
These work for small crews with one storage point and one person who controls tool issue. They cost little but need careful manual updates.
Spreadsheets
These help create a master inventory and basic cost records. They become harder to control when many workers edit the same file or tools move between sites.
QR codes and barcodes
Workers scan a label to record an issue, return, or transfer. The system can retain the history of each handoff.
Bluetooth tracking
Bluetooth tags can report a last-seen location when a compatible phone or network device comes within range. Coverage and update methods vary by system.
GPS tracking
GPS devices can help locate mobile, high-value equipment such as trailers, generators, and compressors. They may need a power source, cellular service, and a data plan.
RFID systems
RFID readers can record tagged items as they pass through a controlled area. They suit larger tool rooms and storage facilities with fixed entry points.
Match Tracking Technology to Asset Value
Use simple tracking for low-cost items and stronger tracking for assets that can cause major losses. A basic label may be enough for a shared hand tool. A specialty pipe machine may need an individual record, a named custodian, and location support.
The cost of the tracking system should make sense when compared with the value of the tool and the cost of downtime. A tag that costs more to manage than the item is unlikely to be useful.
Also check the tag’s mounting method, battery life, dust and water resistance, network needs, and phone compatibility before buying.
Low-value hand tools
Use group inventory or basic labels when individual tracking would cost too much.
Shared power tools
Use QR or barcode records with a named user and a return date.
Specialty equipment
Use individual asset records and track service, location, and calibration where required.
Mobile high-value equipment
Consider a custody record combined with a suitable GPS or location system.
Set Clear Check-Out, Transfer, and Return Rules
A tool tracking system only works when every movement is recorded. A tool that leaves the shop without a record can appear available even when another crew needs it. The same problem occurs when workers lend tools directly to each other.
Create one simple process for issuing, transferring, and returning equipment. Use the same steps at the shop, in service trucks, and on active jobs. Keep the process short enough that workers can follow it during a busy shift.
Every handoff should identify the item, the person taking responsibility, the destination, and the date. Add a return date when the tool is borrowed for a limited time.
Step 1: Check availability
Confirm that the item is ready for use and not already assigned to another project.
Step 2: Record the issue
Scan the asset or enter its ID. Add the worker, crew, project, truck, and issue date.
Step 3: Record the condition
Check for visible damage, missing parts, worn cords, loose guards, or other problems before use.
Step 4: Record transfers
Update the custodian and location whenever an item moves to another worker, crew, truck, or job.
Step 5: Check the return
Confirm that the correct item has come back. Record its condition and any reported faults.
Step 6: Close the record
Mark the item as available only after the required checks are complete and any faults have been resolved.
Make Jobsite Transfers Part of the Daily Routine
A tool transfer should not depend on a phone call or a verbal promise. If one crew gives a laser level to another, the record should change at that moment. This protects both crews from later confusion.
At the end of each shift, crew leads should review shared equipment. Check that tools are in the right truck, storage box, or jobsite area. Report missing items before the team leaves.
When a project ends, compare the job’s assigned asset list with the tools being returned. This final sweep helps prevent equipment from remaining at a closed site.
Name one responsible person
Avoid assigning an expensive tool only to a broad crew name.
Set return dates
A due date gives the manager a clear reason to follow up on borrowed equipment.
Review open handoffs
Check overdue items and unconfirmed transfers at least once each week.
Plan Tool Kits and Equipment for Each Job
Good fleet management starts before a crew reaches the jobsite. A manager should know what the work requires and which tools are already available. This reduces last-minute trips and duplicate purchases.
Build standard tool kits for common tasks. An electrical crew may need drills, testers, fish tape, and approved safety gear. A framing crew may need saws, nailers, levels, layout tools, and related accessories.
Use the work plan to decide what each crew needs. Check tool availability before assigning equipment. If an item is due for repair or already committed to another site, arrange a replacement or rental before the work starts.
Review the job scope
List the tasks, materials, work areas, and equipment needs before mobilization.
Build task-based kits
Group common tools and accessories so crews can collect them without searching through the full inventory.
Check power needs
Confirm battery packs, chargers, cords, generators, and approved power sources.
Check special equipment
Confirm that measuring devices, specialty tools, and required attachments are ready.
Confirm delivery and return
Set the transport plan and identify who will receive and return shared equipment.
Use a Job Readiness Check
Before a crew leaves the shop, check the planned equipment list against the actual load. Confirm that each item is present, in working order, and assigned to the correct project.
A short readiness check can also catch missing batteries, damaged leads, worn accessories, and tools that need service. These issues are easier to fix at the shop than on a busy jobsite.
For long jobs, review equipment needs as the work changes. A tool that was not needed during the first phase may become essential later.
Ready
The item is available, checked, and suitable for the planned task.
Pending
The item needs delivery, a replacement, a repair, or another approval.
Not suitable
The item does not meet the job’s technical or safety needs.
Create a Preventive Maintenance and Inspection Plan
Maintenance keeps tools useful and helps prevent avoidable failures. It also gives managers a clear record of repairs, service costs, and equipment condition. A tool that looks fine from the outside may still have an internal fault.
Use manufacturer instructions to set service intervals. Some equipment needs checks before each use. Other items need scheduled service based on time, hours of use, or operating conditions.
Do not use the same schedule for every asset. A generator, cordless drill, laser level, and air compressor have different needs. Record the correct procedure for each type.
Daily checks
Look for visible damage, loose parts, missing guards, damaged cords, leaks, and unusual noise.
Routine cleaning
Remove dust and debris as directed by the manufacturer. Keep vents and moving parts clear.
Scheduled service
Follow the stated service intervals for engines, filters, lubrication, batteries, and other parts.
Calibration
Track due dates for instruments that need verified accuracy, such as certain laser levels and test meters.
Repair history
Record the fault, repair work, parts used, service date, and return-to-work decision.
Use Maintenance Status to Control Equipment
Each asset should have a clear status. Available means the item has passed the checks required for use. Under repair means it cannot be assigned. Out of service means workers must not use it.
When a worker reports a fault, record it at once. Remove the item from normal issue stock. Attach a clear warning or use another approved method to prevent use until the item is repaired or replaced.
After repair, the responsible person should confirm that the work is complete. Update the service record and return the item to available status only when it is safe and ready.
Report
Workers should report unusual heat, vibration, noise, sparks, leaks, or damaged safety parts.
Isolate
Remove unsafe equipment from use and prevent another worker from taking it by mistake.
Repair
Use qualified repair staff and approved parts when required by the manufacturer or applicable rules.
Verify
Complete the required checks before the item returns to the working fleet.
Follow U.S. Construction Safety Requirements
OSHA construction standard 29 CFR 1926.20(b)(2) requires frequent and regular inspections of jobsites, materials, and equipment by competent persons designated by the employer. Section 1926.300(a) also requires hand and power tools to be kept in a safe condition.
Under 29 CFR 1926.20(b)(3), equipment that does not meet an applicable requirement must be identified as unsafe by tagging or locking controls, or physically removed from its place of operation. Section 1926.301(a) also prohibits issuing or allowing the use of unsafe hand tools.
These rules make inspection records more than a simple business task. Contractors should build their equipment process around the rules that apply to their work. Special equipment may have additional inspection and operator requirements.
An asset register does not prove that a tool is safe. Workers must still follow the correct operating method, use required guards, and wear suitable personal protective equipment. A qualified person should handle technical checks when the task requires it.
Keep records current
Record required inspections, defects, repairs, and equipment release decisions.
Control access
Do not leave unsafe tools in a normal storage area where a worker may pick them up.
Train workers
Make sure operators understand the tools they use and the hazards linked to their tasks.
Protect Tools Against Theft, Loss, and Damage
Tool security needs both physical protection and clear records. A locked trailer may help prevent theft, but it cannot show which worker last used a missing drill. A tracking tag may show a location, but it cannot replace safe storage and good site control.
Start by identifying assets that are easy to move and costly to replace. Give them clear IDs, record their serial numbers, and assign a responsible person. Use secure storage for high-value items when the site allows it.
At the end of each workday, check that tools are back in their assigned storage areas or secured in approved vehicles. Do not leave expensive equipment in open areas without a clear reason and suitable controls.
Secure storage
Use locked tool boxes, secured containers, suitable trailers, and controlled access areas.
Vehicle security
Keep tools out of plain view when practical. Lock vehicles and avoid leaving keys in accessible locations.
Asset identification
Keep photos, serial numbers, purchase records, and ownership details in the central register.
Location alerts
Use suitable tracking devices on mobile equipment when the value and risk justify them.
End-of-shift checks
Compare assigned tools with the items returned to trucks, trailers, and storage areas.
Build a Simple Missing Tool Response
When an item goes missing, start with the last recorded custodian and location. Check recent transfers, job records, repair areas, and other trucks before assuming the item was stolen.
If the item cannot be found, follow company reporting rules. Preserve its asset ID, serial number, photos, purchase record, and last known location. Contact the relevant site manager, insurer, or law enforcement agency as required.
Do not ask workers to confront a suspected thief. Keep the response focused on reporting, evidence, and safe recovery.
Check the record
Review the last issue, transfer, return, and location updates.
Confirm the physical search
Check the site, storage areas, vehicles, and repair locations.
Report the loss
Follow company, insurance, and local reporting procedures.
Close the asset record
Mark the item as missing or stolen only after the facts support that status.
Measure Tool Use and Control Fleet Costs
A contractor should know whether the current tool fleet is large enough, too large, or poorly shared. Good records help managers see which tools are in regular use and which ones sit unused. This makes buying and rental decisions easier.
Start with simple measures. Count how often tools are assigned, how long they remain in repair, and how many times a crew requests equipment that is unavailable. These figures can show where the process needs attention.
Do not judge a tool only by its purchase price. A low-cost item that fails often may cost more over time than a reliable tool with a higher price. Include repairs, downtime, replacement parts, storage, and the cost of keeping the item ready.
Utilization rate
Divide productive use hours by available hours, then multiply by 100. Use a clear and consistent definition of available time.
Equipment downtime
Count the hours or days an asset cannot be used because of repair, inspection, or other faults.
Maintenance cost
Add service labor, parts, repairs, and other direct upkeep costs for each asset.
Tool availability
Measure how often requested equipment is ready when a crew needs it.
Loss rate
Compare missing or unaccounted-for assets with the total number checked during an audit.
Cost per use
Divide the total cost of owning and maintaining an item by its productive use days or hours.
Use a Simple Ownership Cost Calculation
A basic ownership calculation helps compare buying with renting. Start with the purchase price, expected resale value, useful life, annual maintenance, and storage costs.
For example, imagine a contractor buys a specialty tool for $1,800. The expected resale value is $300 after four years. Annual maintenance costs $150, while storage and insurance add $60.
The estimated annual cost is $585 before financing and downtime. That comes from $375 in annual depreciation, $150 in maintenance, and $60 in storage and insurance.
If the tool is used for 15 days per year, its estimated cost is $39 per use day. If it is used for only five days, the cost rises to $117 per use day. These are hypothetical figures, not market prices.
Annual depreciation
Calculate purchase price minus expected resale value, divided by useful life in years.
Annual ownership cost
Add depreciation, maintenance, storage, insurance, financing, and other relevant costs.
Cost per use day
Divide annual ownership cost by the number of days the tool is used.
Rental comparison
Compare the result with rental charges, delivery, collection, and other rental fees.
When Should Contractors Rent Instead of Buy?
Buying often makes sense when a tool is needed often and the company can maintain it. Renting may make more sense for rare tasks, short projects, or equipment that needs costly specialist service.
A rental can also help when demand changes from one project to another. It gives a contractor access to equipment without keeping every item in storage between jobs.
Check the full rental agreement. Record the equipment condition when it arrives and when it leaves. Confirm the rental period, damage rules, delivery costs, operating limits, and responsibility for maintenance.
Buy
Consider ownership when demand is steady, use is frequent, and service support is available.
Rent
Consider rental when use is rare, demand is uncertain, or the equipment is costly to store and maintain.
Lease
Consider leasing when the business needs planned access over a longer period and the contract terms support its cash flow and work schedule.
Choose Tool Fleet Management Software
Tool fleet software can help contractors manage several crews, job sites, storage areas, and service records. It brings asset details into one shared system and can reduce the need for separate paper lists.
However, software is only useful when it fits the way crews work. A complex system that takes too long to update may lead workers to skip scans and transfers. Choose a system that makes common tasks simple.
Before paying for a platform, test it with a small group of tools. Ask workers to check out an item, transfer it, report damage, and return it. Check whether the records remain accurate throughout the process.
Central asset records
The platform should store asset IDs, serial numbers, photos, ownership, purchase details, and current status.
Mobile access
Workers should be able to update records from a phone or tablet at the shop and jobsite.
Check-out history
Look for named custodians, dates, locations, due dates, and transfer records.
Maintenance tools
The platform should support service history, inspection records, repair notes, and due dates.
Reports
Look for useful reports on missing tools, overdue returns, utilization, repairs, and equipment costs.
Data export
Make sure the company can export its records and retain access to important asset data.
Offline support
Check how the app works when crews have weak or no internet service.
Questions to Ask Before Buying Software
Do not choose software based only on the number of features. Focus on the work it must support and the problems it should solve. Ask for a clear explanation of subscription costs, setup fees, device needs, and support.
Check whether the system can handle equipment from different brands. A contractor may own tools from many manufacturers and should not need a separate inventory for each brand.
Also review user access and data protection. Managers may need full reports, while workers may only need to scan and update their assigned equipment. Set permissions that match each role.
Total cost
Check setup, subscription, user, tag, hardware, and support fees.
System fit
Confirm that it works with the phones, computers, and tool categories already in use.
Data ownership
Understand who controls company records and how they can be exported or recovered.
Training
Check whether workers can learn the main tasks without lengthy training.
Manage Crew Responsibility and Subcontractor Equipment
Tool fleet management depends on people as much as technology. Every worker should know which tools they are responsible for and how to report a fault or transfer. Crew leaders should know how to review assignments and close open records.
A clear process also matters when subcontractors bring their own tools. Do not mix their equipment with company-owned assets without recording who owns it. This helps avoid disputes over loss, damage, repair, and return.
Use written rules for shared equipment. The rules should explain who can approve a transfer, who reports damage, who pays for agreed repairs, and what happens when a project ends.
Fleet manager
Maintains the asset register, reviews reports, and manages equipment needs across projects.
Shop or tool manager
Handles issue, return, storage, and basic condition checks.
Project manager
Plans equipment needs and confirms that each project has suitable tools.
Crew leader
Checks assigned tools, records transfers, and reports missing or damaged equipment.
Tool user
Uses equipment as trained, follows safety rules, and reports problems at once.
Handle Employee Changes and Tool Returns
When an employee changes crews or leaves the company, review all tools assigned to that person. Confirm that shared equipment has been returned and that personal assignments have been transferred or closed.
Do not rely on memory during an employee exit. Use the asset register to create a return list. Record missing items and follow the company’s normal review process.
Company tracking should also respect worker privacy. Explain what company assets are tracked, what location data is collected, who can see it, and how long records are kept. Follow applicable privacy and employment rules.
Return company assets
Check tools, batteries, chargers, accessories, and assigned storage items.
Update assignments
Transfer records to another worker or mark returned items as available.
Review access
Remove system access when the worker no longer needs it.
Common Tool Fleet Management Mistakes
Many fleet problems come from weak daily habits rather than a lack of expensive software. A contractor may have a detailed asset list but still lose track of tools because workers do not record transfers. The process must be easy to follow and supported by clear responsibility.
Review common mistakes before rolling out a new system. Fixing these issues early can save time and prevent unnecessary spending.
Tracking every small item individually
This creates extra work and raises system costs. Use quantity-based records for low-value consumables.
Using GPS as the only control
A location signal does not prove who has an item. Keep a separate custody record.
Failing to record transfers
A tool may appear to be at the shop when it has moved to another job. Update the record at each handoff.
Ignoring equipment condition
A tool can be physically present but unsafe or unfit for work. Track condition and maintenance.
Buying too much equipment
Check existing utilization before buying more. Some assets may be idle or assigned to jobs that have ended.
Using unclear asset names
Names such as drill one or red saw make records hard to verify. Use unique IDs and serial numbers.
Skipping physical audits
Digital records can become inaccurate. Compare the register with actual equipment on a regular basis.
Failing to train workers
A tracking process will fail if crews do not understand how to issue, transfer, return, and report tools.
A Practical 30-Day Tool Fleet Management Rollout
A contractor does not need to track every asset on the first day. Start with a manageable group of important tools and improve the process as workers use it. A short pilot can reveal problems before the system expands to every crew.
The following 30-day plan is a suggested starting point. Adjust the timing to match the size of the business and the number of active projects.
Days 1 to 5: Review the current fleet
List the main tool categories, storage locations, active crews, rented assets, and common equipment problems. Choose a person to manage the process.
Days 6 to 10: Build the asset register
Record important assets, serial numbers, ownership, condition, purchase details, and current locations. Assign unique IDs.
Days 11 to 15: Create the tracking process
Set rules for issue, transfer, return, inspection, and repair. Add QR labels or barcodes where they make sense.
Days 16 to 20: Test with one crew
Run the process on an active project. Ask workers to report problems with scanning, record updates, and equipment handoffs.
Days 21 to 25: Expand to more crews
Train other teams, update the asset list, and add shared tools that move between projects.
Days 26 to 30: Review and improve
Check the physical inventory against the records. Review missing items, overdue returns, maintenance needs, and worker feedback.
Signs That the System Is Working
A successful fleet process should make equipment easier to find and prepare. Managers should spend less time asking who has a tool and more time planning the next job. Workers should also have a clear way to report damage and request equipment.
Do not judge the system by the number of records it contains. Judge it by the quality of the information and whether people use it. A smaller, accurate system is more useful than a large list that no one updates.
Accurate locations
The recorded location matches the actual shop, truck, storage area, or jobsite.
Clear responsibility
Every shared asset has a named custodian or a clear storage owner.
Faster job preparation
Managers can confirm tool availability before crews leave for work.
Better maintenance control
Damaged tools are reported, isolated, repaired, and checked before reuse.
Useful cost reports
The company can identify idle assets, repeated repairs, and possible rental savings.
Frequently Asked Questions
Q
What is the best way for contractors to track their tools?
Start with a central asset register and a clear check-out process. Give important tools unique IDs and record the person, location, project, and return date for every handoff. Add QR codes or barcodes when several crews share equipment. Use Bluetooth or GPS tracking only when the value and movement of an asset justify the extra cost.
Q
Do contractors need GPS trackers on every tool?
No. GPS is not needed for every hand tool or power tool. It is more useful for mobile, high-value equipment such as generators, compressors, and trailers. QR codes and custody records are often enough for shared drills, saws, and measuring tools. The right choice depends on asset value, location needs, and tracking costs.
Q
How often should contractors audit their tool fleet?
Review overdue tools and open transfers at least weekly as a practical starting point. Check high-value and frequently moved equipment more often when the risk calls for it. A broader physical inventory can be scheduled monthly or at another interval that fits the business. Always check equipment when a project closes or an employee leaves.
Q
Should a contractor buy or rent construction tools?
Buy tools that receive steady use and are practical to maintain. Rent equipment needed for short projects, rare tasks, or changing work demands. Compare purchase cost, expected resale value, maintenance, storage, insurance, and downtime with the full rental cost. Use real company records instead of guessing how often a tool will be needed.
Q
Who should be responsible for tool fleet management?
A fleet or tool manager should own the main asset register and reporting process. Shop managers can handle issue and return records, while project managers plan equipment needs. Crew leaders should confirm assignments and report problems. Every worker who uses shared tools should follow the same transfer and return rules.
✦ Wrapping Up
Conclusion
Tool fleet management helps contractors control the equipment that keeps their work moving. It brings inventory, location, custody, maintenance, and cost records into one clear process. It also helps crews prepare for jobs and reduces confusion when tools move between workers and sites.
The best system does not need to be complex. Start with a useful asset register, unique IDs, and clear check-out rules. Add tracking software and location devices as the business grows and its needs change.
Keep the process active through regular inspections, physical audits, maintenance reviews, and worker training. When every tool has a clear status and responsible person, managers can make better choices about buying, renting, repairing, and replacing equipment.
💡 Key Takeaway
Start by listing every high-value and shared tool in your business. Give each item a unique ID, record its location and custodian, and introduce a simple check-out and return process. Then review the records weekly and use the results to improve equipment planning, maintenance, and fleet costs.