Effective tool inventory planning means knowing what your company owns, how often each tool is used, when it needs service, and when replacement makes better financial sense. Track usage, condition, repair costs, and job demand together to reduce downtime and avoid unnecessary purchases.
For contractors and construction companies across the United States, tool inventory can affect daily work, labor costs, and project schedules. A crew in Texas may need different equipment from a crew working on a winter project in Minnesota. Yet both need reliable tools when work begins. Buying too many tools ties up cash, while buying too few can delay jobs and increase rental costs.
Tool inventory planning connects three basic decisions. First, decide how many tools your business needs. Second, measure how much work each tool performs. Third, decide when to repair, replace, share, rent, or retire each asset. These decisions should use real records rather than age or guesswork alone.
A useful inventory plan also separates tool age from tool life. A drill used every day may wear out faster than one kept for occasional work. A generator may have low annual use but still be vital during a power outage. Good planning looks at cost, condition, demand, safety, and the role of each tool before making a purchase decision.
What Is Tool Inventory Planning?
Tool inventory planning is the process of managing the tools and equipment a business needs to complete its work. It covers purchasing, tracking, use, maintenance, storage, repair, and replacement. The goal is to keep the right tools ready without holding more equipment than the business needs.
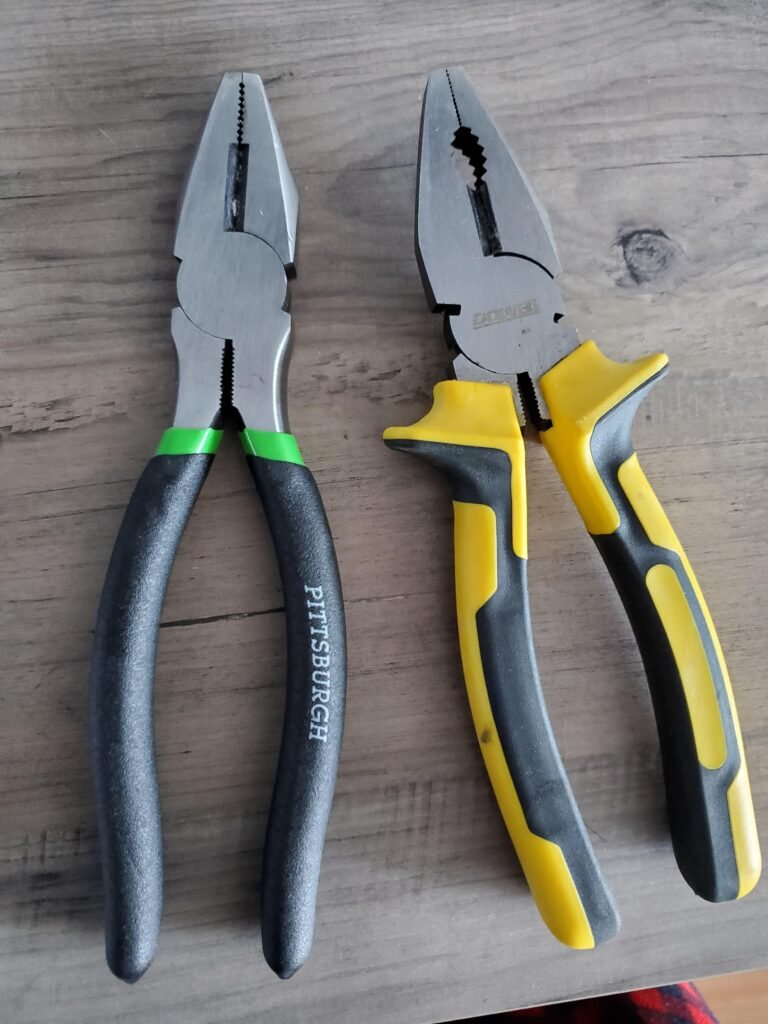
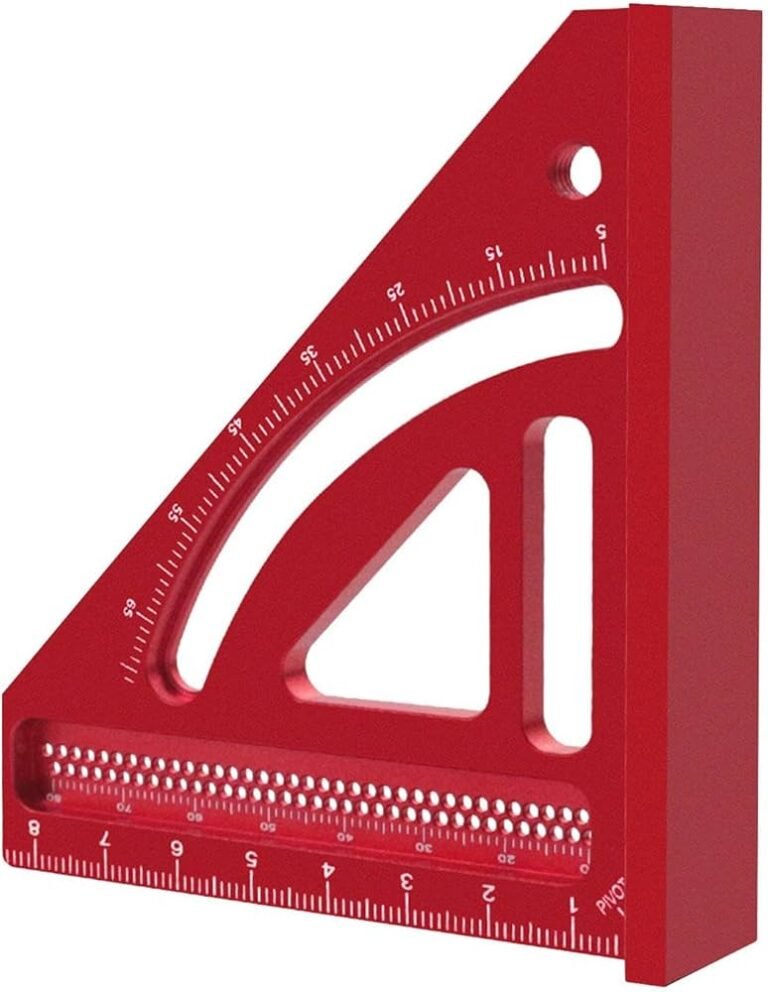
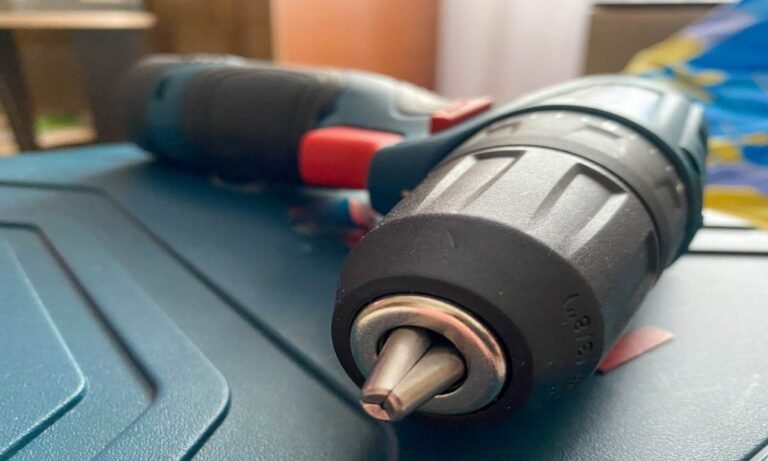
For a contractor, this may include drills, saws, grinders, ladders, compressors, generators, measuring devices, and larger jobsite equipment. Each asset has a different cost, purpose, and expected working life. A single replacement rule cannot cover all of them.
A good plan links inventory records to work schedules. It shows which tools are available, which are assigned, which need service, and which may soon need replacement. This gives managers time to act before a missing or damaged tool affects a project.
Inventory planning
Decides what the business needs, how many units to keep, and where to place them.
Utilization planning
Measures how often and how well each tool supports actual work.
Replacement planning
Sets practical conditions for repair, replacement, reassignment, or retirement.
Maintenance planning
Schedules service and checks to keep tools in safe working condition.
Why These Three Decisions Must Work Together
Buying a tool without checking demand can create excess inventory. Keeping an old tool without reviewing its repair history can increase downtime. Replacing a tool only because it looks old can waste money when it still performs well.
These decisions work best as one system. Utilization shows whether the business needs the tool. Maintenance records show its condition. Replacement planning shows whether keeping it still makes sense.
For example, a contractor may own six heavy-duty drills but find that only three are used during a normal week. The business may not need another purchase. It may need better tool sharing or a different assignment plan instead.
Build a Reliable Tool Inventory Register
Start with a complete list of the tools your business owns or controls. Do not begin with replacement dates. First, find out what is already available and where each item is located.
Check the workshop, storage room, service area, company vehicles, and active job sites. Include tools assigned to workers and equipment kept for special tasks. Compare the physical count with purchase records where possible.
Give each important tool a unique asset number. Record its serial number as well. This helps identify the correct item when it moves between crews, needs repair, or must be replaced.
A spreadsheet can work for a small company with one main storage location. A shared asset management system may work better when several crews move tools between jobs. The best system is one that staff can update without adding too much work.
Asset identification
Record the tool name, asset number, brand, model, serial number, and category.
Purchase information
Save the purchase date, purchase price, supplier, warranty details, and estimated replacement cost.
Location and ownership
Record the current location, assigned crew, responsible person, and tool transfer history.
Condition and service
Track working condition, inspection results, repair dates, service costs, and known faults.
Usage information
Record operating hours, work cycles, checkout days, or another useful measure of activity.
Replacement information
Set a target life, expected annual use, replacement estimate, and planned review date.
Separate Fixed Assets From Consumables
Not every item needs an individual asset record. Expensive or reusable tools should usually have their own records. Examples include drills, saws, compressors, laser levels, and generators.
Consumables need a different system. Drill bits, blades, sanding discs, fasteners, and similar items lose value through use. Manage them with stock counts and reorder points rather than long-term replacement cycles.
This distinction keeps the inventory useful. It also stops managers from spending time tracking low-cost items in the same way as expensive equipment.
Fixed tools
Track each important item, its condition, location, and service history.
Consumables
Track stock quantity, usage rate, supplier lead time, and reorder levels.
Spare parts
Track critical parts by compatibility, stock level, and expected service demand.
Use Asset Tags and Simple Tracking Rules
Labels, QR codes, and barcodes can make tool transfers easier to record. A worker can scan an item when taking it from the shop and scan it again when returning it.
Tracking technology should match the value and movement of the tool. A high-value generator may justify a location tracker. A basic hand tool may only need a clear label and a checkout record.
Set one simple rule for every transfer: name the person taking the tool, record the destination, and set a return date when the tool is shared. Without this habit, even good software can show the wrong location.
How to Measure Tool Utilization
Tool utilization measures how much a tool is used during a set period. It helps managers see whether the current inventory matches actual work demand.
For tools with operating meters, use productive operating hours. For smaller tools, use days checked out or the number of jobs completed. The right measure depends on how the tool supports the work.
Do not confuse utilization with availability. Utilization measures use. Availability measures whether the tool is ready when needed. A tool can have low utilization and still be important because it serves as backup equipment.
Measure each tool class over the same period when making comparisons. A weekly report may help with fast-moving tools. A monthly or seasonal report may be more useful for equipment used on larger projects.
Operating hours
Best for generators, compressors, powered equipment, and machines with reliable hour meters.
Days in use
Useful for shared tools that move between crews and job sites.
Work cycles
Useful for tools where the number of operations matters more than time.
Job assignments
Useful for measuring demand for tools that support specific types of projects.
Calculate the Utilization Rate
A simple utilization rate compares productive use with the available scheduled time. Use the same time basis for both figures.
The basic formula is productive operating hours divided by available scheduled hours, multiplied by 100.
For example, assume a contractor has a drill available for 40 scheduled working hours in one week. The drill performs productive work for 18 hours. Its utilization rate is 45 percent.
This result does not prove that the drill is unnecessary. The crew may need it for several short tasks, or it may be reserved for urgent work. Check job demand and availability before changing the inventory.
Compare the rate with the tool’s job role, peak demand, service needs, and sharing options.
Track More Than One Utilization Measure
A single utilization figure can hide problems. A tool may be used often but spend too much time in repair. Another may be ready every day but rarely receive a job assignment.
Track utilization alongside availability and downtime. Also review how many tools in the same category are used during the period. This helps show whether the fleet is too large, too small, or poorly distributed.
For example, a company may own five laser levels. Four may sit in storage while one is used on every active project. The problem may be tool distribution rather than total inventory.
Active fleet ratio
The number of tools used during a period compared with the total number owned.
Availability rate
The share of planned time when a tool is ready for use.
Downtime
The time a tool cannot perform its intended work because of faults, service, or missing parts.
Cost per productive hour
The relevant ownership, service, and repair costs divided by productive operating hours.
Match Inventory Levels to Real Job Demand
The right inventory level depends on the work your business expects to perform. A small repair company has different needs from a large commercial construction contractor.
Start by reviewing current projects and expected work over the next few months. List the tools needed for each task. Then compare those needs with the tools already available.
Look for equipment that stays unused for long periods. Also look for tools that several crews need at the same time. Both patterns can point to an inventory problem.
Low use does not always mean excess inventory. A backup tool may protect a critical project from downtime. The goal is not to use every tool every day. The goal is to hold enough equipment to meet demand at a reasonable cost.
Review peak demand
Check how many crews may need the same tool during busy periods.
Identify shared equipment
Find tools that can move between teams without causing transport delays.
Check seasonal needs
Plan for tools used mainly during certain weather conditions or project seasons.
Keep critical backups
Hold spare units when failure could stop essential work or create a serious delay.
Choose Between Buying, Sharing, and Renting
Buying makes sense when a tool has steady demand and regular use. It may also make sense when the tool is critical and must be ready at short notice.
Sharing can reduce excess inventory when several crews work in nearby areas. However, travel time and transfer delays must be included in the decision.
Renting can be useful for short projects, seasonal demand, or rare tasks. Compare rental charges, delivery fees, pickup costs, and availability with the full cost of ownership.
Do not compare rental price with purchase price alone. A purchased tool also needs storage, service, repairs, and future replacement. A rental may include some of these costs, but the rental agreement must be checked.
Buy
Choose ownership for regular demand, critical work, and predictable long-term use.
Share
Use shared inventory when crews can access equipment without harming project schedules.
Rent
Use rentals for short-term peaks, unusual jobs, and equipment with low expected annual use.
Set Minimum and Maximum Stock Levels
Set a minimum stock level for important tools and consumables. The minimum should reflect normal demand, delivery time, and the effect of a shortage.
A maximum level helps prevent unnecessary purchases. When the count reaches the maximum, new orders should require a clear reason.
For example, a contractor may set a minimum of two working units for a critical tool category. If one unit goes into repair, the manager knows that the stock level needs attention.
These levels should change when the business adds crews, enters a new market, or takes on different types of work.
Set Practical Tool Replacement Cycles
A replacement cycle is the planned period or usage level at which a business expects to review or retire a tool. It helps managers prepare for future purchases instead of waiting for a sudden failure.
There is no universal replacement age for every power tool or piece of equipment. A drill used for light work may last much longer than one used every day in demanding conditions. A compressor may have a different service life from a cordless saw.
Use the manufacturer’s service guidance as a starting point. Then adjust the target with actual usage, condition reports, repair history, and business demand.
A replacement target is not an automatic disposal date. It is a point for review. A tool may remain useful beyond its target if it is safe, reliable, and economical to maintain.
Age-based review
Review tools when they reach a planned age or when warranty and support conditions change.
Usage-based review
Review tools after a set number of operating hours, work cycles, or completed tasks.
Condition-based review
Review tools when wear, faults, or performance changes become more frequent.
Cost-based review
Review tools when repair and operating costs rise compared with the value of continued use.
Create Replacement Rules by Tool Category
Different tools need different replacement rules. Small hand tools may need condition checks more than financial analysis. High-value equipment may need a full cost and usage review.
Cordless tools need attention to batteries, chargers, and platform support. A working tool body may still become costly to keep if compatible batteries or replacement parts are difficult to obtain.
Measuring devices may need calibration checks. A tool that gives inaccurate results can create costly rework even when its motor and outer body remain in good condition.
The following planning categories provide a starting point. They are management approaches, not fixed service-life limits.
Hand tools
Use condition-based reviews. Replace tools with damaged handles, unsafe heads, worn gripping surfaces, or defects that cannot be repaired safely.
Cordless power tools
Track working hours, battery condition, repair frequency, performance, and parts support.
Stationary workshop tools
Review operating hours, accuracy, maintenance history, major components, and production needs.
Generators and compressors
Use operating hours, service records, load conditions, repair costs, and expected future demand.
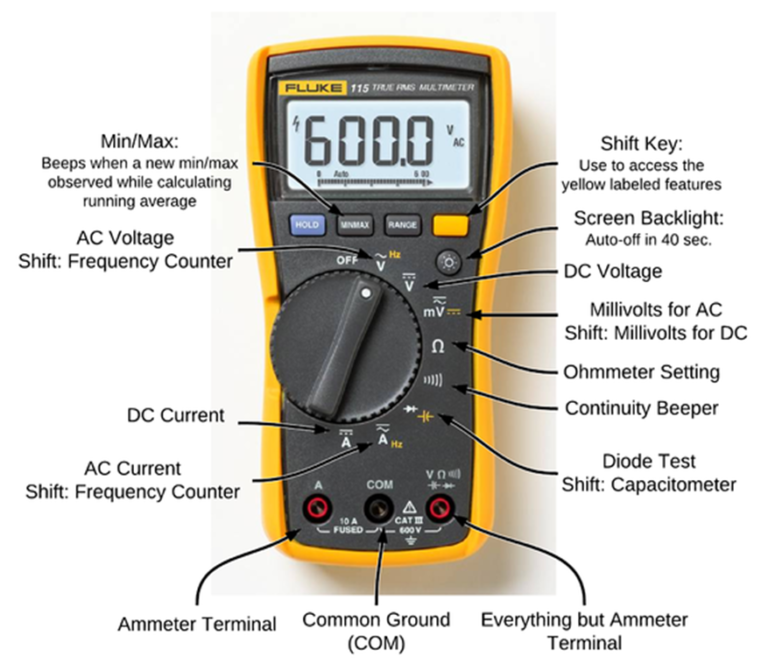
Measuring and testing tools
Review calibration status, accuracy, manufacturer guidance, and the cost of incorrect readings.
Ladders and access equipment
Base decisions on condition, damage, inspection findings, applicable safety requirements, and manufacturer instructions.
Estimate the Remaining Replacement Time
Usage-based replacement targets can help forecast when an asset may reach its planned life. Divide the target operating hours by expected annual operating hours.
For example, assume a machine has a target life of 2,400 operating hours. The business expects to use it for 600 hours each year. The estimated target age is four years.
If the machine has already recorded 1,800 hours, it has about 600 planned hours remaining before the target is reached. At 600 hours per year, the manager can begin preparing for a replacement within roughly one year.
This is a planning estimate, not a promise that the machine will last that long. Actual condition and service history can move the decision forward or extend its useful life.
Formula
Estimated target life in years = Target operating hours ÷ Expected annual operating hours.
The estimate helps managers prepare budgets, compare supplier lead times, and avoid emergency purchases.
When Should You Repair or Replace a Tool?
Repair a tool when the fault can be fixed safely and the expected cost of continued use is reasonable. Replace it when repairs no longer make financial sense, parts are unavailable, performance is unreliable, or the tool cannot meet safety requirements.
The decision should include more than the repair bill. Consider future service costs, expected remaining hours, downtime, replacement cost, warranty, and the effect of failure on active work.
A simple percentage rule can help flag a repair for review. However, it should not make the final decision. A repair that costs half the value of an old tool may still be worthwhile if the tool has a long remaining life and a replacement is expensive.
The reverse can also happen. A low repair bill may be poor value when the tool has a history of repeated failures or very little useful life left.
Repair when
The fault is limited, the tool remains safe, parts are available, and expected future service costs are acceptable.
Replace when
The tool has serious damage, repeated failures, rising costs, poor performance, or an unsafe condition.
Retire when
The tool has no sound repair path or no longer meets the business need.
Reassign when
The tool is in good condition but its current location or assigned crew no longer needs it.
Compare the Cost of Continued Use
A useful comparison is the expected cost per remaining productive hour. Add the repair cost and expected related downtime cost, then divide by the hours the tool is expected to provide after repair.
Compare that figure with the expected cost per productive hour of a replacement. Include purchase and setup costs, expected life, and likely resale value where relevant.
Consider a hypothetical drill. A repair costs $480, and related downtime costs $180. The repair is expected to provide 400 more productive hours. The estimated cost is $1.65 per remaining hour.
A replacement costs $1,200, with another $60 in setup and downtime costs. If it is expected to provide 1,800 productive hours, its estimated cost is $0.70 per hour. In this example, replacement has a lower estimated cost per productive hour.
These figures are illustrative. Real decisions should also account for differences in performance, maintenance, warranty, accessory compatibility, and resale value.
Repair cost per hour
Repair cost plus expected downtime cost, divided by expected remaining productive hours.
Replacement cost per hour
Purchase and setup costs, adjusted for expected residual value, divided by expected productive hours.
Final decision
Choose the option that provides safe, reliable work at a reasonable total cost.
Watch for Signs That a Tool Is Near the End of Its Useful Life
Some warning signs appear before a complete failure. A tool may lose power, produce unusual noise, overheat more often, or require repeated repairs.
Physical damage can also show that replacement is near. Cracked housings, damaged guards, exposed wiring, loose handles, and failed safety controls need immediate attention.
Do not keep a tool in service just because it can still turn on. A damaged safety feature can make the tool unsuitable for use even when its basic function remains.
Performance changes
Reduced output, poor accuracy, unusual vibration, or longer work times.
Repeated faults
Frequent service visits, recurring electrical problems, or repeated component failures.
Structural damage
Cracks, broken guards, exposed wires, loose parts, or damaged handles.
Parts and support issues
Unavailable replacement parts, discontinued support, or costly compatible accessories.
Plan Replacement Budgets Before Tools Fail
Replacement budgeting helps a business spread equipment costs over time. Instead of paying for several emergency purchases in one month, managers can forecast likely needs and prepare a planned buying schedule.
Start with the replacement targets for each asset category. Estimate the number of tools likely to reach their review points during the next budget period. Then compare those estimates with available funds and project demand.
Use realistic replacement prices. Include taxes, delivery, required accessories, batteries, installation, training, and setup where applicable. Also account for the cost of removing or disposing of old equipment.
A replacement budget should include some flexibility. Tools can fail earlier than expected. A repair may also become more expensive when parts are hard to obtain. A reserve helps the company respond without disrupting the whole purchasing plan.
Expected purchases
List the assets that may need replacement based on age, usage, and condition.
Estimated purchase cost
Use current supplier estimates and include all costs needed to put the new tool into service.
Repair allowance
Include expected service costs for tools that will remain in use.
Replacement reserve
Allow for unexpected failures and changes in project demand.
Expected resale value
Include a realistic disposal or resale estimate when old equipment may retain value.
Use a Rolling Replacement Forecast
A rolling forecast looks beyond the current month. It can cover the next 12 months and extend further when the business owns expensive equipment with long purchase lead times.
Review the forecast every quarter. Move planned purchases forward when repair costs rise or a tool’s condition changes. Delay purchases when equipment remains reliable and expected demand falls.
Compare planned purchases with upcoming projects. A tool that is not needed today may become essential when a large contract begins. Buying it too late can lead to rental costs or project delays.
A rolling forecast is more useful than a fixed annual list because it changes with actual business conditions.
Near-term replacements
Tools with serious faults, high repair costs, or safety concerns.
Planned replacements
Tools expected to reach their usage or economic targets during the budget period.
Future replacements
Tools that need monitoring but are not yet ready for retirement.
Build a Tool Inventory Planning Process
A good inventory plan needs clear responsibilities. Someone must own the records, review usage, approve repairs, and prepare replacement requests. Without assigned responsibility, the information can become outdated.
The process should be simple enough for workers to follow. A tool transfer should not require a long form. A quick scan or short record can capture the person, location, and date.
Start with the most valuable and important tools. Once the process works, expand it to other equipment. This reduces the risk of creating a complex system that staff do not use.
Step 1: Count existing inventory
Inspect storage areas, vehicles, workshops, and job sites. Record the tools the business actually owns.
Step 2: Add asset records
Give each important tool an ID and record its purchase, location, condition, and service history.
Step 3: Measure usage
Choose operating hours, days in use, or work cycles based on the tool type.
Step 4: Set review targets
Create condition, maintenance, and replacement review points for each tool category.
Step 5: Review demand
Compare available inventory with active projects, future work, and peak demand.
Step 6: Forecast purchases
Prepare a replacement schedule and budget before tools reach the end of their useful life.
A small contractor may only need a spreadsheet and a clear sign-out process. A larger business may need software that supports several locations, workers, and project teams.
The system should make it easy to search by asset number, identify a tool’s location, review repair history, and see upcoming service needs. Replacement forecasting is also useful when the inventory is large.
Avoid buying tracking technology before defining the process. A digital system cannot solve missing records if employees do not report tool movements or service events.
Spreadsheet
Suitable for a small inventory with limited transfers and one person managing updates.
Barcode or QR system
Useful when tools move between crews and managers need a clear transfer history.
Asset management software
Useful for larger fleets that need maintenance schedules, reports, cost records, and replacement forecasts.
Location tracking
Useful for selected high-value or mobile equipment where the cost of losing an item justifies the technology.
Assign Clear Roles
The inventory manager should maintain the main records and review replacement forecasts. Supervisors should report tool demand and condition changes. Workers should report damage, return shared tools, and follow the approved checkout process.
The purchasing team should check existing stock before approving new orders. The maintenance team should record service work and identify tools that may need early replacement.
These roles do not always need separate employees. In a small company, one manager may handle several tasks. What matters is that each task has a named owner.
Common Tool Inventory Planning Mistakes
Many inventory problems come from poor records or decisions made without enough information. A company may buy a replacement while a similar tool sits unused in another vehicle. It may also keep repairing an old unit without comparing the total cost with a new one.
A good process checks the facts before making changes. Review demand, condition, repair history, and safety together. This reduces waste and helps keep equipment ready for work.
Replacing tools only by age
Age alone does not show how much work a tool has performed. Use hours, condition, and service history as well.
Ignoring low-utilization tools
An unused tool may be a backup or a seasonal asset. Check its purpose before removing it.
Buying without checking stock
Review other storage locations and shared inventory before approving a purchase.
Ignoring downtime
A low repair bill may hide the cost of lost work and delayed projects.
Using one replacement rule for everything
Different tool types need different service and replacement methods.
Failing to update records
Unrecorded transfers and repairs make utilization and replacement forecasts unreliable.
Holding unsafe equipment
Do not keep damaged tools in service because the budget has no replacement funds.
Do Not Confuse Depreciation With Useful Life
Depreciation is an accounting method for spreading an asset’s cost over time. It does not prove that a tool has reached the end of its working life.
A fully depreciated tool may still perform safely and reliably. A newer tool may need replacement after serious damage or repeated faults.
Use accounting records for financial reporting and operational records for replacement decisions. Both matter, but they answer different questions.
Do Not Ignore Safety Requirements
In the United States, OSHA’s construction standard 29 CFR 1926.300 requires hand and power tools to be maintained in a safe condition. The standard also covers guarding and other tool-related requirements.
General industry requirements are addressed in 29 CFR 1910 Subpart P. Specific rules can differ by tool and type of work. Employers should check the standards that apply to their operations and any relevant state-plan requirements.
A tool with a failed guard, damaged electrical parts, or another serious safety defect should be removed from service until it has been properly assessed and repaired. If it cannot be restored to a safe condition, replace or retire it.
Follow the manufacturer’s manual for maintenance and service. Use qualified repair staff for work that requires technical knowledge. Never bypass a safety device to keep production moving.
Remove damaged tools
Mark defective equipment clearly and prevent workers from using it until it is cleared for service.
Follow applicable standards
Check OSHA requirements for the work, tool type, and industry.
Use qualified service
Refer complex electrical, mechanical, and calibration issues to trained personnel.
Keep service records
Record inspections, repairs, parts changes, and decisions to retire equipment.
Measure the Success of Your Inventory Plan
A tool inventory plan should produce measurable results. Review whether equipment is available when needed, whether repair costs are under control, and whether purchases match real demand.
Do not judge the system only by the number of tools owned. A smaller inventory may support more work when equipment is shared well and maintained on time.
Use a short monthly report for operational issues and a deeper quarterly review for replacement planning. Compare current results with earlier periods to find changes.
The numbers should lead to action. If downtime rises, review service capacity and tool condition. If purchases increase while utilization falls, check whether inventory is growing faster than demand.
Utilization rate
Shows how much scheduled time tools spend performing productive work.
Tool availability
Shows whether equipment is ready when crews need it.
Repair cost per tool
Shows which assets are becoming expensive to maintain.
Downtime hours
Shows how much working time is lost because of equipment problems.
Replacement forecast accuracy
Compares planned replacement dates with actual repair and retirement decisions.
Inventory accuracy
Compares recorded assets and locations with the results of physical counts.
Emergency purchase rate
Shows how often unexpected tool failures or shortages lead to urgent buying.
Create a Regular Review Schedule
Review tool movements and urgent faults every week. Check repair records, service needs, and usage trends every month. Conduct a full inventory and replacement forecast review at least once each quarter, adjusting the schedule to the size and risk of the business.
Use each review to update the records. Change replacement targets when actual use differs from the forecast. Reassign tools when another crew has greater demand. Remove obsolete assets from the active inventory.
The process should become part of normal operations. It should not be a report that managers prepare once and then forget.
Weekly
Check missing tools, overdue returns, urgent faults, and current jobsite needs.
Monthly
Review utilization, repairs, downtime, service needs, and inventory accuracy.
Quarterly
Update replacement targets, demand forecasts, and planned purchase budgets.
Annually
Review the full inventory strategy, major equipment costs, and future business needs.
Frequently Asked Questions
Q
How often should a contractor review tool inventory?
Review tool movements and urgent problems every week. Check utilization, repairs, and service records each month. A full inventory and replacement forecast should be reviewed at least once each quarter.
Large companies with several job sites may need more frequent checks. The schedule should reflect inventory size, equipment value, and the cost of losing access to a tool.
Q
How do you calculate tool utilization?
Divide productive operating hours by available scheduled hours, then multiply by 100. For example, a tool used for 18 hours during a 40-hour scheduled week has a utilization rate of 45 percent.
For tools without hour meters, use days in use, checkout records, or completed work cycles. Keep the same measurement method when comparing similar tools.
Q
How long should construction tools last?
There is no single lifespan for all construction tools. Working hours, job conditions, storage, maintenance, workload, and repair quality all affect useful life.
Use manufacturer guidance and actual service records to set review targets. Replace tools when their condition, safety, performance, or total cost makes continued use unreasonable.
Q
When is it better to rent tools instead of buying them?
Renting may be better when equipment is needed for a short project, seasonal demand, or a rare task. It can also help when the business does not want to manage long-term service and storage.
Compare the full rental cost with ownership costs. Include delivery, pickup, rental periods, maintenance, repairs, storage, and expected use before deciding.
Q
Should low-utilization tools always be removed from inventory?
No. Some tools have low utilization because they serve as emergency backups or support special jobs. Removing them may increase project risk or create higher rental costs.
Review the tool’s purpose, replacement cost, storage cost, and effect on operations. Reassign, share, rent out where appropriate, or retire it only after checking these factors.
Q
What is the best way to predict tool replacement costs?
Start with purchase records, expected annual use, replacement targets, repair history, and current supplier estimates. Add the cost of accessories, delivery, setup, and disposal.
Update the forecast when equipment condition or project demand changes. A rolling forecast helps the business prepare for purchases before tools fail.
✦ Wrapping Up
Conclusion
Tool inventory planning works best when purchasing, utilization, maintenance, and replacement decisions share the same records. Contractors need to know what they own, where it is, how often it is used, and what it costs to keep it working.
A clear replacement cycle helps managers prepare for future spending. It also prevents two common problems: replacing useful tools too early and keeping unreliable tools for too long. Usage records and condition checks make these decisions more accurate.
The best inventory plan is not always the one with the most tools or the newest equipment. It is the one that keeps the right equipment available, safe, and affordable for the work ahead.
💡 Key Takeaway
Start by counting every important tool and creating a basic asset register. Record usage, repairs, condition, and location. Set review targets for each tool category, compare repair costs with replacement costs, and update a rolling replacement forecast every quarter.
Compare lineman pliers vs combination pliers to find which tool suits pros and DIYers, key differences, tips, and buying advice to choose the right pliers.
Compare brushed drill vs brushless drill to find the best power, runtime, and value for your projects. Read our clear guide to choose the right drill fast.