Use a stiff, locked tape, start from the hook, keep it straight, and read at eye level.
I’ve measured everything from door frames to kitchen islands for over a decade, and this guide explains how to measure accurately with tape in clear, field-tested steps. You’ll get simple methods, tools to trust, common mistakes to avoid, and real examples from my work so you can measure confidently every time.

Essential tools and tape types
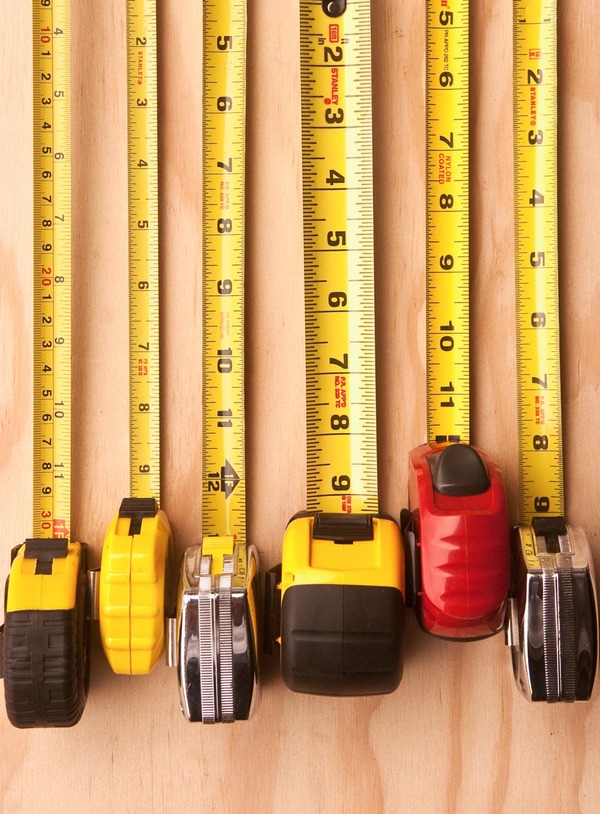
Choosing the right tape is the first step in learning how to measure accurately with tape. Not all tapes are made equal, and the right one makes the job easier and the result more precise.
- 16-foot general purpose tape: Good for home projects and rough layouts.
- 25-foot professional tape: Best for construction and longer runs.
- Long steel measuring tapes: Use for site layout and outdoor runs where tension matters.
- Fiberglass tapes: Handy for metric-focused tasks and very long distances.
- Folding rulers and carpenter’s squares: Use to check short distances and corners.
Tip: Choose a tape with a clear, high-contrast blade and a positive lock. A bending or fuzzy blade reduces accuracy and wastes time.
Understanding tape measure anatomy
Knowing the parts of the tape helps you use it right every time and is essential to understand how to measure accurately with tape.
- Hook (tang): The small metal end that grabs edges; it is slightly loose to account for the hook thickness when measuring inside or outside edges.
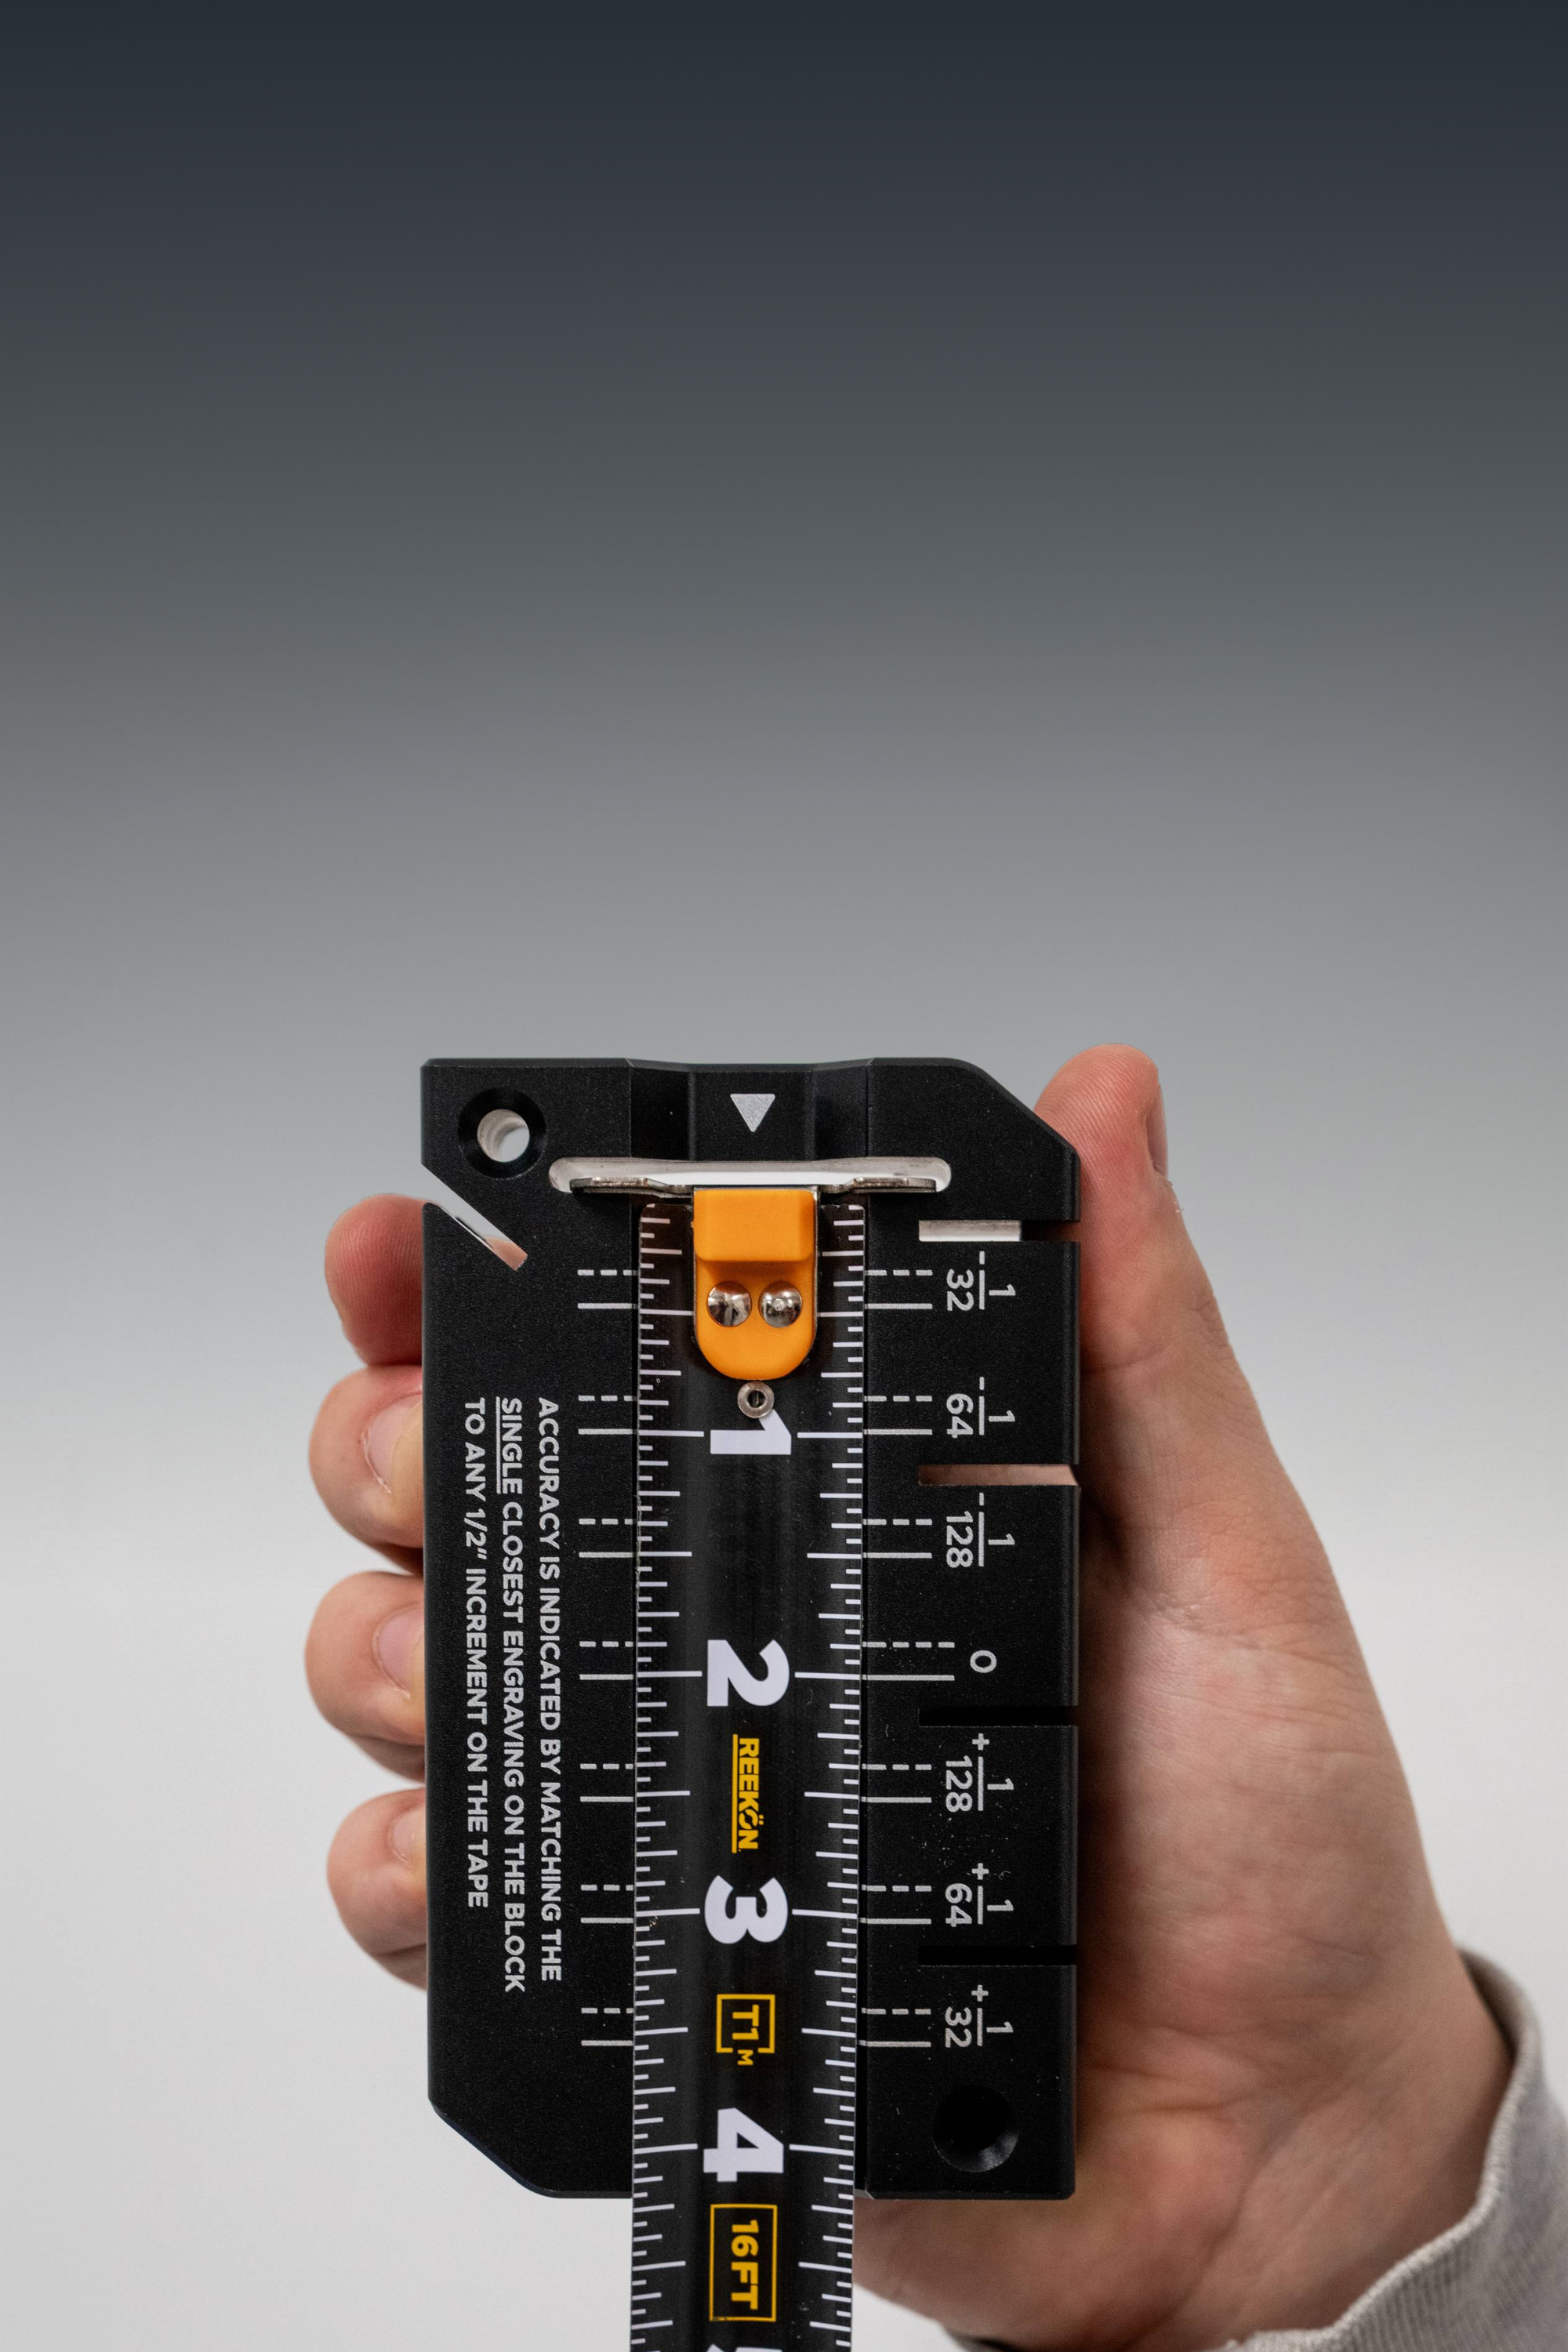
- Blade: The printed measuring strip. Look for bold, easy-to-read fractions and millimeter marks.
- Lock: Holds the blade in place so you can read without it retracting.
- Case: Hard shell protects the tape and affects how straight the blade stays when extended.
- Belt clip and strap: For quick access and safety on job sites.
Knowing the hook design is key. The hook moves slightly to compensate for its own thickness, which is why measuring inside vs. outside edges requires the same technique but different hook behavior.
Step-by-step: how to measure accurately with tape
Follow these steps every time to reduce errors and get reliable results.
- Stand in line with the tape and read at eye level to avoid parallax error.
- Hook or butt the tape correctly. For outside edges, hook the tape over the edge. For inside edges, push the hook against the surface.
- Pull the tape straight. Keep the blade flat and aligned along the line you measure. Avoid bending or sagging.
- Lock the tape before you read to steady the blade.
- Record in full units first, then note fractions or millimeters. Write down the measurement immediately.
- Double-check by measuring again or by using a known reference like a ruler or square.
Example: To measure a window frame width, hook the tape on one trim edge, pull across to the opposite trim, lock, and read at eye level. Then measure again from the other side to confirm. This double-check catches small hook and alignment errors.

Common mistakes and how to avoid them
Avoiding simple errors is a big part of knowing how to measure accurately with tape. Here are frequent slip-ups and fixes.
- Misreading from an angle: Stand directly over the marking to prevent parallax error.
- Not accounting for hook thickness: Remember the hook compensates for its thickness; measure inside and outside edges appropriately.
- Letting the blade sag: Support longer runs every few feet or use a second person.
- Ignoring tape stretch or wear: Old tapes can stretch; test against a steel rule for critical work.
- Skipping double-checks: Always measure twice, and check with a different method when precision matters.
Fix tip: For long spans, clamp or fasten the tape at one end. This keeps tension constant and reduces human error.

Advanced tips for tricky scenarios
When surfaces are odd-shaped, or accuracy must be tight, these tips help you handle complexity when learning how to measure accurately with tape.
- Use the tape’s teeth or a thin shim for repeating gap measurements to avoid removing the tape each time.
- For diagonal or angled measurements, draw the angle and measure along the marked line rather than guessing the span.
- When measuring overhead, use a weighted end or a helper to hold the tape steady and read from a ladder level.
- For very precise work, measure twice using different units (imperial then metric) and convert to confirm consistency.
- Use a story stick or layout board for repeated cuts; transfer the measurement directly instead of re-measuring each piece.
These practices cut errors and speed up repetitive tasks. They’re how pros handle the same challenges you’ll meet on-site.
Metric vs imperial: read and record accurately
Knowing both systems helps you measure in any context and keeps your results consistent when working with others.
- Read the blade carefully: Imperial tapes show feet, inches, and fractions; metric tapes show meters, centimeters, and millimeters.
- Record a preferred format: Pick one unit for a job and stick with it to avoid conversion mistakes.
- Convert only when necessary: If a plan is in metric, measure in metric directly to reduce rounding errors.
Pro tip: When converting between systems, round only after all calculations. This practice prevents small rounding errors from adding up on big projects.

Personal experience and real-world examples
I learned how to measure accurately with tape the hard way. Early in my career, I installed kitchen cabinets that ended up 1/4 inch off because I measured from an untrue wall. I now always check walls with a straightedge and measure from a verified reference point.
Lessons I use every day
- Use a reference line when walls are wavy.
- Mark measurements on the workpiece immediately.
- Trust a second measurement, especially before making cuts.
These small changes saved me time and costly rework. I still use the same basic tape and routine on every job.

Frequently Asked Questions of how to measure accurately with tape
How do I prevent the tape from bending or sagging on long measurements?
Support the blade every few feet or have a helper hold the far end. Use a longer rigid tape or a chalk line for very long runs.
Why does the tape hook move and how does that affect my measurement?
The hook is loose by design to account for its thickness. This lets you measure inside and outside edges without manual correction.
When should I measure in metric instead of imperial?
Measure in metric when plans or materials specify metric or when precise millimeter accuracy is needed. Choose the system used by the rest of the project.
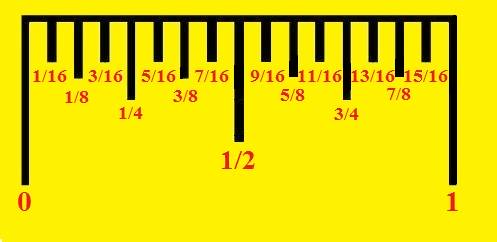
How do I read fractions on an imperial tape accurately?
Read the whole inches first, then identify the fraction using the smallest marked division. If unsure, convert to decimal or measure again to confirm.
Can I rely on a cheap tape for accurate cuts?
Cheap tapes may wear or stretch faster and can give inconsistent results. For precise cuts, use a quality tape and check it against a steel rule.
Conclusion
Mastering how to measure accurately with tape starts with the right tool, a steady routine, and a habit of double-checking. Use a locked tape, read at eye level, account for the hook, and confirm critical measurements with a second check. Put these tips into practice on your next project and you’ll waste less material and save time. If this guide helped, try these steps on a small project today, share your results, or leave a question below to get tailored advice.