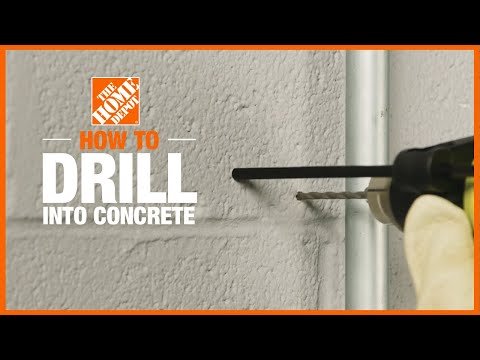
Turn off the water, dry the area, then patch or replace the pipe following safe, clear steps.
I have fixed many leaks and taught homeowners how to fix a leaking pipe step by step. I write from real job-site experience and practical know-how. Read on and you will learn clear, safe, and tested ways to stop leaks fast and prevent new ones.
Why pipes leak and what to expect
Pipes leak for many simple reasons. Age and corrosion wear metal down. Freezing water can crack pipes. Poor fittings and physical damage also cause leaks. Knowing why helps when you learn how to fix a leaking pipe step by step.
Common causes
- Corrosion from old piping or chemical exposure.
- Loose or failed joints and fittings.
- Crushed or pinhole damage from nails, tools, or shifting soil.
- Frozen water that expands and cracks the pipe.
- Poor installation or incompatible materials.
What to expect when fixing a leak
- Some repairs are quick and temporary.
- Some require cutting out and replacing a section.
- Work may be simple for visible pipes and harder for pipes inside walls.

Tools and materials you’ll need to fix a leaking pipe step by step
Gathering the right tools makes the job faster and safer. I recommend a small kit for most home leaks. Below are the common items I keep in my truck.
Essential tools
- Adjustable wrench and pipe wrench.
- Tubing cutter or hacksaw for metal and PVC.
- Emery cloth or sandpaper for cleaning pipe ends.
- Bucket, rags, and a flashlight.
Materials and repair parts
- Pipe repair clamp or rubber patch kit.
- Epoxy putty or pipe repair tape.
- Replacement fittings, couplings, and pipe sections (copper, PVC, or PEX).
- Soldering kit or PVC cement when a permanent fix is needed.
Safety and prep before you start
Safety comes first. Before you learn how to fix a leaking pipe step by step, shut off the water. Know where your main shutoff valve is. Wear gloves and eye protection.
Quick prep steps
- Turn off the main water supply or the local valve to the fixture.
- Open taps to drain lines and reduce pressure.
- Place a bucket under the leak to catch runoff.
- If soldering, clear the area of flammable items and ventilate well.

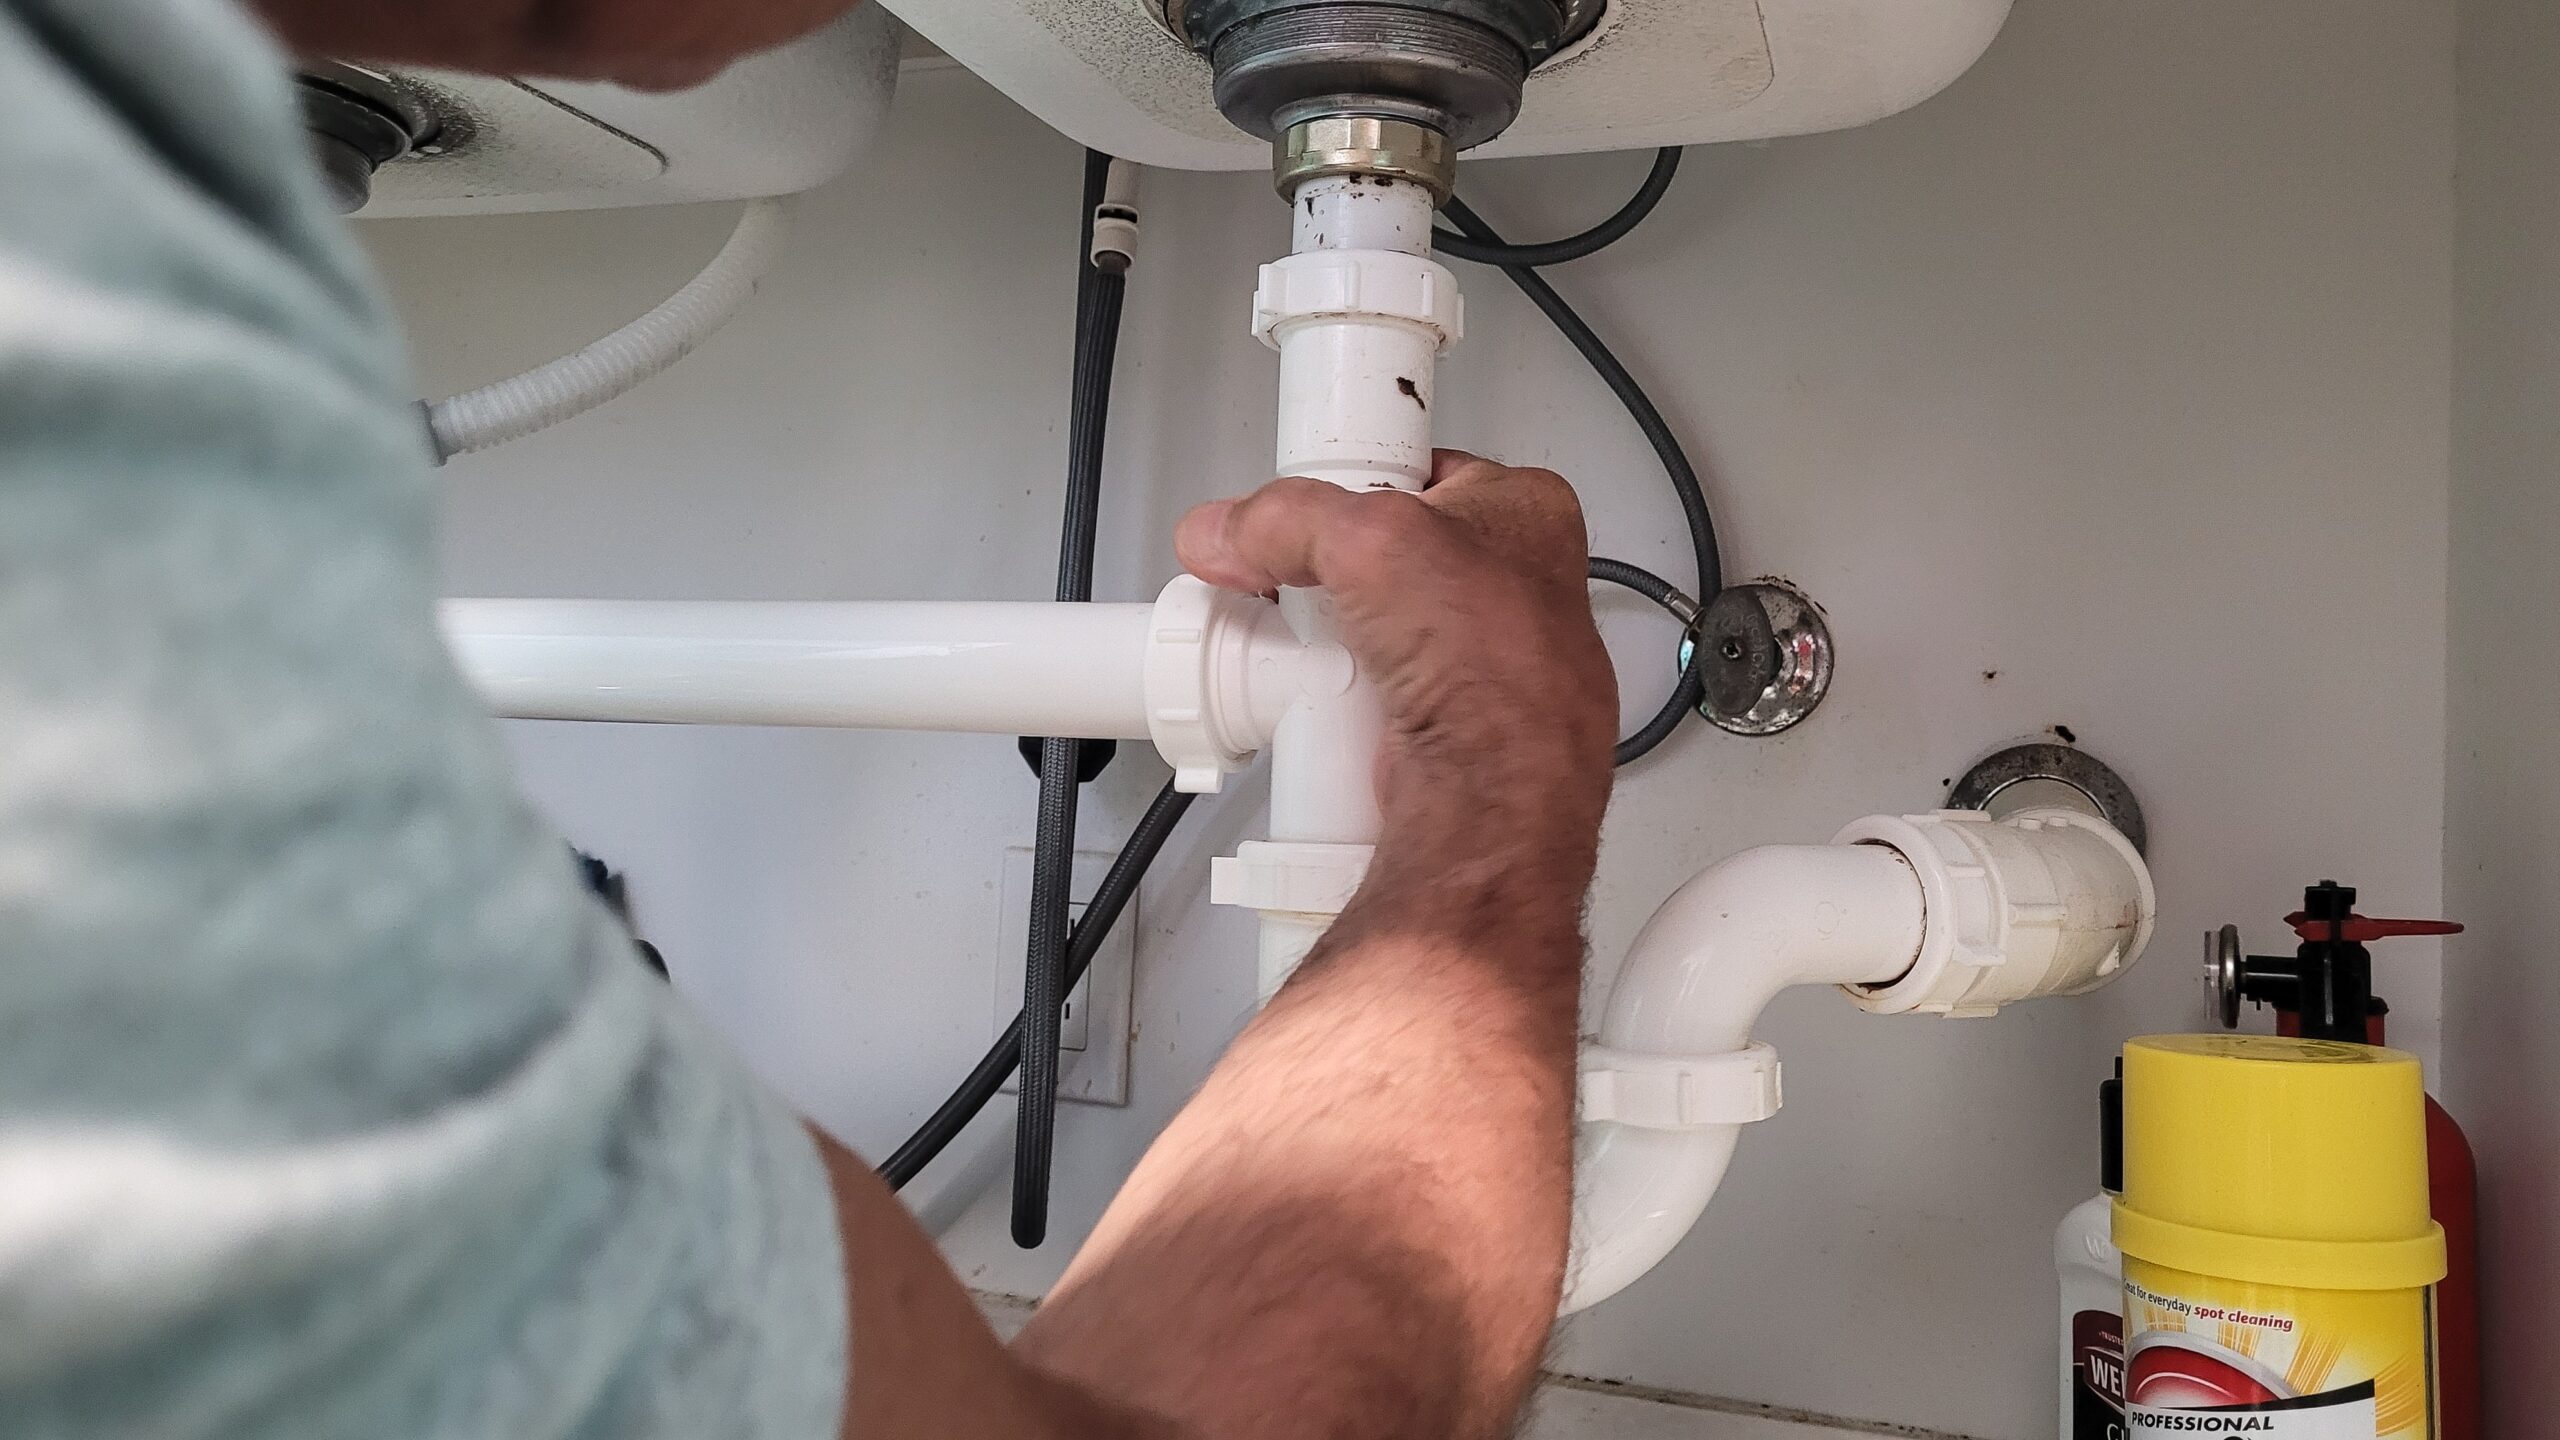
Step-by-step repair for a leaking pipe (simple and clear)
This section shows general steps you can follow to fix a leaking pipe step by step. I include both temporary and permanent fixes. Choose the option that matches your skill and the leak type.
-
Stop the water and dry the pipe
- Shut off the supply and open nearby faucets.
- Wipe the area dry. A dry surface improves patch adhesion.
-
Inspect the leak
- Find the exact spot. Look for pinholes, cracks, or loose joints.
- Decide if a temporary patch or full replacement is needed.
-
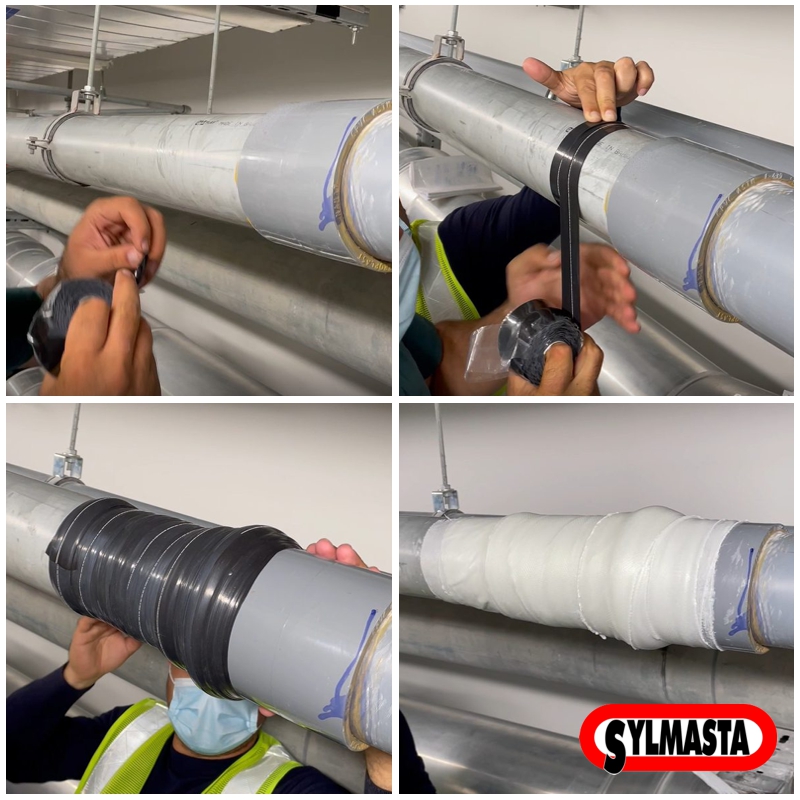
Apply a temporary patch for small leaks
- Wrap pipe repair tape tightly over the leak, overlapping by half.
- Or use epoxy putty. Knead it and pack it over the hole. Let it cure.
-
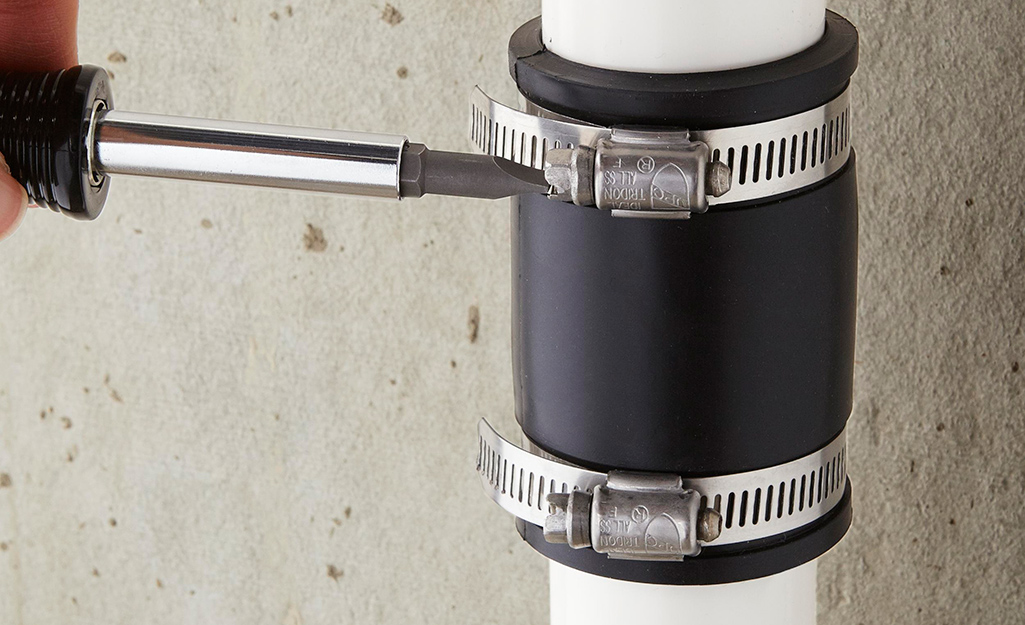
Make a more secure repair with a clamp
- Place a rubber patch over the leak.
- Fasten the repair clamp and tighten evenly.
-
Replace a damaged section for a permanent fix
- Cut out the damaged pipe with a tubing cutter or saw.
- Clean the pipe ends, then install a new coupling or replacement pipe.
- For copper, solder the joints. For PVC, use primer and cement. For PEX, use the proper crimp or push-fit fitting.
-
Test the repair
- Slowly restore water pressure and check for drips.
- Monitor for a few hours to ensure the fix holds.
Tips from my experience
- Work in small steps. Rushing breaks fittings.
- If soldering, heat the joint evenly. I once overheated a fitting and had to replace it. Learn from small mistakes.

Repair methods by pipe type
Different pipes need different fixes. Below are the main types and what works best for each when you learn how to fix a leaking pipe step by step.
Copper pipe
- Temporary: epoxy putty or clamp.
- Permanent: cut and solder a new section or use compression fittings.
PVC pipe
- Temporary: rubber patch and clamp or repair sleeve.
- Permanent: cut and glue with PVC primer and cement; replace with a coupling.
PEX pipe
- Temporary: clamp or PEX repair sleeve.
- Permanent: cut out and use push-fit or crimp fittings for replacement.
Galvanized steel
- Often corroded. Temporary patches can work.
- Best to replace with new copper or PEX sections when practical.

Common mistakes and how to avoid them
Avoid these frequent errors when you fix a leaking pipe step by step. I have seen each one cost time or money.
Common mistakes
- Not shutting off the water fully. This makes repairs messy and unsafe.
- Skipping surface prep. Dirt and oil prevent adhesive cures.
- Using the wrong fitting for the pipe type. Match materials to avoid leaks.
- Over-tightening clamps. This can deform the pipe and cause more leaks.
- Relying too long on temporary fixes. Replace damaged sections when possible.
When to call a professional
Some jobs need a pro. If the leak is large or inside a wall or ceiling, call a plumber. If you smell gas or see major water damage, stop and call a pro right away.
Reasons to call help
- The leak is behind drywall or under concrete.
- You suspect sewer or gas line issues.
- Multiple leaks or low water pressure appear after repair.
- Local codes require licensed work for certain repairs.

Preventing future leaks
Preventive steps save time and money. Use these tips to reduce the chance you’ll need to learn how to fix a leaking pipe step by step again.
Preventive actions
- Insulate pipes in cold areas to avoid freezing.
- Replace old galvanized pipe before it fails.
- Keep proper water pressure; high pressure stresses joints.
- Check visible pipes once a year for early signs of wear.
Personal tip
- I schedule a quick pipe check every spring. It finds small issues before they grow.

Frequently Asked Questions of how to fix a leaking pipe step by step
How long will a temporary patch last?
A temporary patch can last from days to months. It depends on water pressure and the repair quality.
Can I fix a leaking pipe step by step if it is inside a wall?
You can do it if you can reach the pipe safely. Often a pro is faster and avoids hidden damage.
Is epoxy putty a good long-term solution?
Epoxy putty is great for small holes. For larger damage, replacing the section is best.
What is the cheapest way to fix a leaking pipe step by step?
A temporary tape or clamp is the cheapest. It is not always the most reliable long term.
Do I need to turn off power when fixing a leak?
Yes, if water contacts electrical fixtures. Turn off power to that area for safety.
How do I know when to replace the whole pipe?
Replace when corrosion is widespread or multiple leaks appear. A full replacement saves repair cycles.
Conclusion
You can fix many common leaks by learning how to fix a leaking pipe step by step. Start with safety and the right tools. Use a temporary fix only when needed, and choose permanent replacements for lasting peace of mind. Try one clear repair this week or call a professional if the job looks complex. Share your results, ask a question, or subscribe for more practical home repair guides.