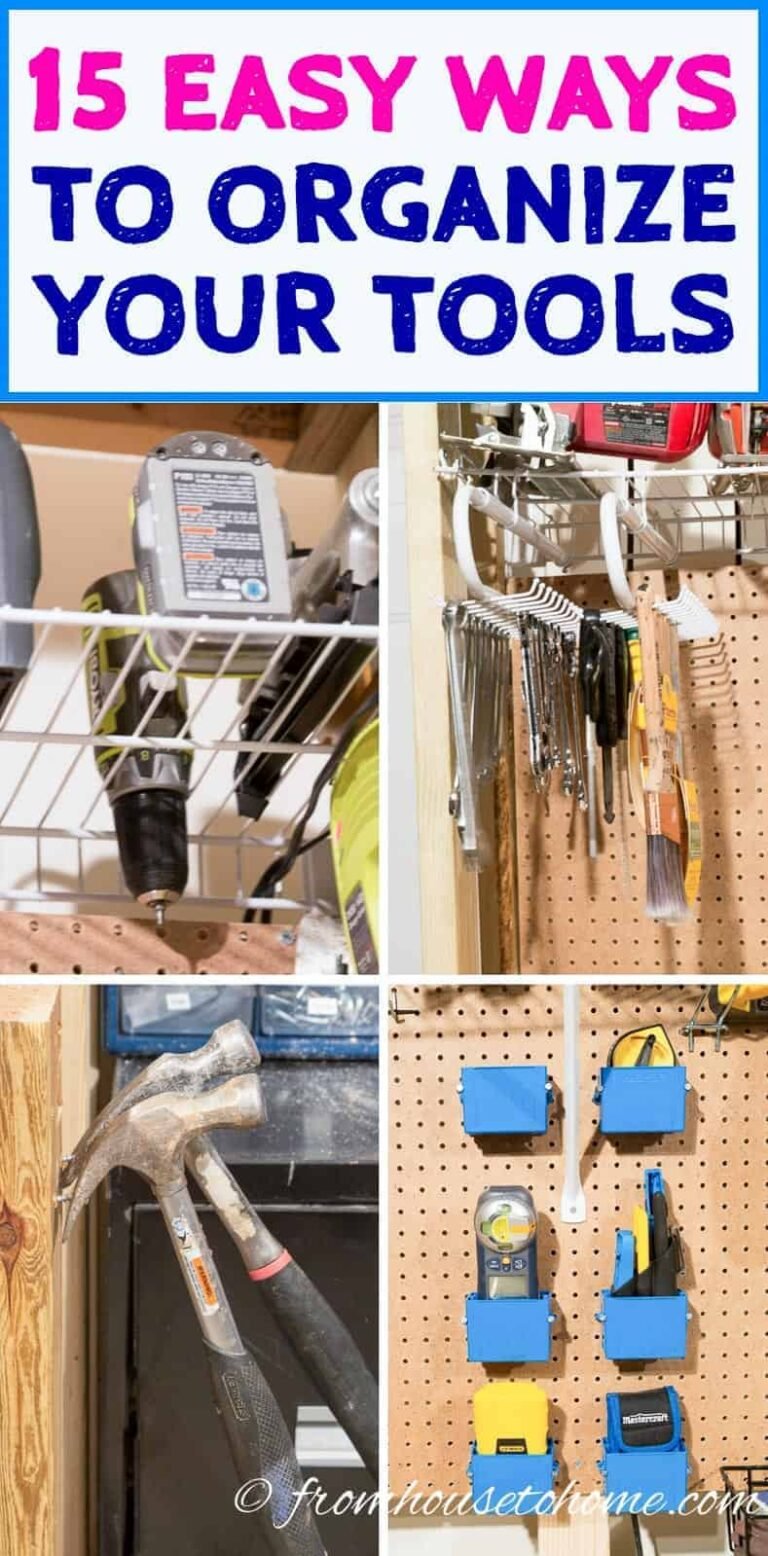
Tool theft prevention works best when every tool has a unique identity, a clear owner, a recorded location, and a secure storage plan. Combine permanent markings, regular inventory checks, controlled access, and suitable tracking technology to reduce theft and improve recovery.
Across the United States, contractors, builders, mechanics, farmers, electricians, and service teams depend on tools every day. A missing drill can delay a small repair. A stolen generator can stop work at a large construction site. The loss goes beyond the price of the tool. It can also lead to lost time, extra rental costs, and missed deadlines.
Tool theft prevention starts before a tool goes missing. Every business needs to know what it owns, where each item belongs, and who has permission to use it. A clear asset system makes it easier to spot missing items and prove ownership when theft occurs.
A strong system does not depend on one lock or tracking device. It uses several layers of protection. These may include asset tags, serial number records, secure tool boxes, staff check-in logs, GPS devices, and regular site checks. Each layer helps close a different gap.
The best approach also fits the size and type of the business. A small repair shop may need a simple spreadsheet and marked storage bins. A large contractor may need mobile inventory software, RFID tags, and tracking devices for high-value equipment. The goal is the same: know what you have, protect it, and act fast when something is missing.
Source: slideteam.net
Why Tool Theft Prevention Needs a Clear Asset Plan
Tool theft is not just a security problem. It is also an asset management problem. A business cannot protect an item well if nobody knows that it exists or where it should be.
Many tools move between shops, work vans, storage rooms, and active jobsites. This movement creates gaps. A tool may be left in a truck, sent to the wrong site, or taken home by mistake. Without a record, it can be hard to tell the difference between a misplaced tool and a stolen one.
A good asset plan gives every item a clear place in the business. It also creates a record of ownership and use. This helps managers spot unusual changes and take action before small losses become a larger problem.
Reduce replacement costs
A clear inventory helps a business find missing tools before buying replacements. It also helps prevent repeat purchases of items that are already in storage.
Reduce work delays
Workers can find the tools they need without searching several vehicles or job boxes. Managers can also move spare tools to the right location.
Improve ownership records
Serial numbers, purchase records, photos, and asset IDs help prove that a tool belongs to the business.
Improve staff accountability
Checkout records show who received a tool and who must return it. This makes it easier to review missing items.
Support theft reports
A complete record gives police and insurers useful details when equipment goes missing.
Misplaced Tools and Stolen Tools Are Different Problems
A missing tool is not always stolen. It may be in another work van, inside a locked cabinet, or at a jobsite where the last user forgot to return it. A quick inventory check can help rule out these simple causes.
The business should record the last known location, last assigned worker, and last scan time. If the tool cannot be found after these checks, the manager can treat the event as a possible theft and follow the reporting process.
This simple distinction matters. It avoids false theft reports and helps the business respond to real security problems.
Misplaced item
Check the last work area, storage location, vehicle, and assigned worker.
Unreturned item
Contact the person who signed it out and check the expected return time.
Possible theft
Review access records, check available tracking data, secure related equipment, and report the incident when theft is reasonably suspected.
Build a Complete Tool Inventory
A reliable tool inventory is the base of every theft prevention plan. Start by listing all tools and equipment owned, leased, or held by the business. Include small hand tools as well as large machines.
Do not limit the list to expensive equipment. A drill, grinder, saw, ladder, compressor, or battery kit may be easy to move and sell. Small items can also create large losses when many disappear over time.
Give each item one permanent record. Keep the record in a secure spreadsheet, inventory program, or asset management system. Make sure authorized staff can update it when tools move or change hands.
Asset ID
Give every tracked item a unique code. Do not reuse an old code for a new tool.
Manufacturer and model
Record the brand, product name, model number, and type of tool.
Serial number
Copy the original serial number from the tool. Record it even when the business also uses its own asset ID.
Purchase information
Keep the purchase date, supplier, price, receipt, and warranty details when available.
Current location
Record the shop, vehicle, warehouse, jobsite, or storage area where the tool should be.
Assigned user
Record the worker, team, or department that has custody of the item.
Condition and photos
Save clear photos and note the tool’s condition, visible marks, and any damage.
Tracking details
Record the tag type, tracker number, last scan, and any active security feature.
Record Attachments and Important Parts
Some equipment has parts that can be removed and sold on their own. A generator may have a removable control unit. A machine may have a valuable motor, battery pack, or attachment.
Record important parts when they have their own serial numbers or high replacement costs. Link each part to the main asset record. This helps identify equipment even if someone removes or changes its outer parts.
For leased equipment, record the owner, lease details, return date, and the person responsible for the item. Do not list leased tools as company-owned assets.
Accessories
Record cases, batteries, chargers, blades, attachments, and other valuable parts when they need separate control.
Leased equipment
Record the rental company, contract number, rental period, and return condition.
Updated photographs
Take new photos when major parts, colors, markings, or equipment condition change.
Keep the Inventory Current
An inventory only works when people update it. A list made once and left untouched will become unreliable as tools move, break, or leave the business.
Update the record after each purchase, transfer, repair, return, sale, or disposal. Set a regular date for a physical count. Compare the real tools with the digital list and review every difference.
Daily updates
Record tool movements and checkout changes as they happen.
Regular counts
Check high-risk items often and review the full inventory on a planned schedule.
Record corrections
Keep a note of missing items, damaged tags, wrong serial numbers, and other changes.
Use Permanent Tool Identification and Asset Tags
Every valuable tool should have a clear identity. A unique asset ID connects the physical tool to its inventory record. This makes it easier to identify company property and reduces confusion when similar tools are used by several workers.
Keep the original manufacturer serial number in the record. Add a separate company asset ID rather than replacing the original number. The two numbers serve different purposes. One identifies the product from the manufacturer, while the other identifies it within the business.
Use a mix of visible and less obvious identification. A visible mark can discourage theft and help workers spot company property. A second hidden mark can help confirm ownership if someone removes the main label.
Source: slideteam.net
Durable asset labels
Use labels made for rough work areas, heat, moisture, dirt, and frequent handling.
Engraved markings
Use permanent engraving only where the manufacturer allows it and where it will not affect safety or tool performance.
Company logos
Apply a clear logo, fleet code, or company name where it can be seen during normal use.
QR codes
Use a unique QR code that opens the correct asset record when scanned by an authorized worker.
Hidden ownership marks
Keep an additional identifying mark in a suitable location. Record its exact position and keep access limited.
Visible and Hidden Tool Marking
Visible markings help show that a tool belongs to a business. They can make it harder to sell company property as an unmarked personal item. They also help workers spot tools that belong to another crew.
Hidden marks provide another way to confirm ownership. If a visible label is removed, the business may still have a second form of identification.
Do not cover the original serial number, warning labels, vents, cooling slots, or moving parts. Avoid engraving battery cells or electrical parts. Never change a tool in a way that affects its safety rating or warranty.
Choose a safe location
Follow the manufacturer’s guidance for labels, engraving, and other added marks.
Use unique codes
Make sure each asset code belongs to only one item.
Keep photo proof
Photograph the original serial number, company mark, and hidden mark when the item is added to the inventory.
Replace Damaged or Missing Tags
Labels can wear out in dusty shops, wet sites, and busy work vans. A damaged tag should not remain in the system without review.
Compare the tool with its original record before adding a new tag. Check the serial number and photos. Then record the replacement tag and keep the old tag history when available.
Inspect the old label
Check whether the code is still readable and whether the label shows signs of removal.
Confirm the tool
Use the serial number and other records to make sure the correct item is being updated.
Update the database
Save the new tag number, date, and reason for replacement.
Choose the Right Tool Tracking Technology
Tracking technology can help a business find tools and record their movement. The right choice depends on the tool’s value, size, location, and risk of theft.
Not every tool needs a GPS tracker. A low-cost screwdriver may only need a company mark and a storage record. A costly generator that moves between jobsites may need a dedicated tracking device and movement alerts.
Understand the limits of each method before buying a system. A tag may identify an item without showing its live location. A Bluetooth tracker may report a last-seen location rather than a constant position. A GPS device may need power, a clear signal, and a paid service plan.
Barcode and QR tracking
Workers scan a printed code with a phone or reader. This is useful for tool checkout, stock counts, and basic asset identification. It does not provide automatic live location tracking.
RFID tracking
Radio frequency identification uses radio signals to read tags. Some systems can scan several tagged items without pointing a camera at each one. Performance depends on the tag, reader, material, and work area.
Bluetooth tracking
Bluetooth devices can report nearby or last-seen locations when they connect with supported devices or networks. Their range and update rate depend on the system.
GPS and cellular tracking
These devices can report the location of suitable equipment over a wider area. They may need a battery, power supply, cellular coverage, and an active service plan.
Smart tool security
Some connected tools support remote lockout or missing-item status. These features work only with compatible tools and systems.
When Should a Business Use Barcode or QR Tags?
Barcode and QR systems are a good starting point for many small and medium businesses. They are simple to set up and can work with a smartphone camera. A scan can show the tool ID, assigned user, and expected storage location.
Their main limit is that someone must scan the tag. If a worker forgets to scan a tool when moving it, the system may show an old location. Labels can also become hard to read when exposed to harsh conditions.
Choose durable labels and test them in the real work area. A tag that scans well in an office may fail after repeated exposure to dust, water, or abrasion.
Best use
Small tools, hand tools, shop equipment, and regular check-in and check-out tasks.
Main limit
The system depends on workers scanning items and updating records.
When Should a Business Use RFID?
RFID can speed up inventory checks when many tagged items move through one area. A suitable reader can identify several tags during a scan. This can help with tool rooms, warehouses, and large equipment stores.
RFID is not a perfect fit for every site. Metal surfaces, tag placement, nearby materials, and reader design can affect performance. Test the full setup with real tools before rolling it out across the business.
Best use
Larger inventories that need faster scanning and regular movement checks.
Main limit
Readers and tags may cost more than a basic barcode system, and the setup needs testing.
When Should a Business Use GPS or Bluetooth?
GPS is more useful for mobile equipment that travels between jobsites or storage yards. It can help managers review location data and set movement alerts. It is often worth considering for generators, trailers, large machines, and other high-value assets.
Bluetooth is often more suitable for smaller tools and equipment that move through areas where compatible devices can detect their tags. It may help locate a tool nearby or review where it was last seen.
Neither system guarantees recovery. Devices may lose power, lose signal, become damaged, or be removed. Use tracking as one layer of security, not as a replacement for physical locks and inventory control.
Check signal coverage
Test the tracker at the shop, inside vehicles, and at the jobsites where the equipment will be used.
Check ongoing costs
Review battery changes, data plans, software fees, and device replacement costs.
Check alerts
Test movement alerts, location updates, and user access before relying on them.
Secure Tools in Shops, Vehicles, and Jobsites
Physical security is still one of the most useful ways to prevent tool theft. Tracking may help find a missing item, but a locked storage area can stop it from leaving in the first place.
Use several security layers. Control entry to storage areas, lock valuable tools when they are not in use, and make sure staff know who is responsible for closing and checking each area.
The best setup depends on the worksite. A small repair shop has different needs from a large construction project. Review each location and focus on tools that are easy to move, easy to sell, or costly to replace.
Lock storage areas
Use suitable locks on cabinets, tool cages, storage rooms, and job boxes.
Control access
Limit keys, access codes, and storage permissions to approved workers.
Improve lighting
Keep entry points and tool storage areas well lit.
Use cameras where suitable
Place cameras to cover useful entry points and storage areas. Check local rules and workplace privacy policies.
Secure mobile equipment
Use suitable locks, immobilizers, and approved security devices on trailers and machines.
Tool Security in Workshops and Storage Rooms
A workshop should have a clear storage plan. Place expensive tools in locked cabinets or a controlled tool room. Keep smaller tools in labeled drawers or cases so missing items are easy to spot.
Do not leave high-value tools near open doors or public access areas. Keep a record of who can enter the tool room. Review key and access code control when workers leave the business.
Use a simple closing checklist. The last person should check cabinets, storage doors, windows, and alarm systems before leaving.
Separate high-value items
Store costly or portable tools in a secure area with limited access.
Use labeled storage
Give each tool or kit a clear place so staff can spot missing items quickly.
Check access records
Review who has keys, codes, and permission to enter restricted areas.
Prevent Tool Theft From Work Vehicles
Work vans and trucks can be easy targets when tools are left in plain view. Lock all doors and windows when the vehicle is unattended, even during short stops.
Use secure tool storage inside the vehicle. Keep valuable items out of sight. Where suitable, use a vehicle alarm, additional locks, or a secured tool chest attached to the vehicle.
Whenever possible, remove expensive tools from vehicles overnight. Check the insurance policy before relying on coverage for tools left inside a vehicle. Policy terms and limits can vary.
Park with care
Choose a secure, well-lit parking area when possible.
Lock every entry
Check doors, rear access points, and windows after loading tools.
Hide valuable tools
Use a locked storage box rather than leaving tools on seats or open shelves.
Avoid unattended keys
Never leave vehicle keys or equipment keys in an easy-to-find place.
Protect Tools at Construction Jobsites
Construction sites change often. Workers, suppliers, and other visitors may enter at different times. This makes it harder to control every tool at every moment.
Set clear storage zones and control access where possible. Lock equipment at the end of the shift. Keep portable tools in secure job boxes and use suitable barriers around valuable machines.
Ask the site supervisor to complete a closing check. Confirm that tools are stored, keys are secured, and equipment is left in its planned location.
Create secure storage zones
Use locked containers or tool cages for items that remain on site.
Limit site access
Use controlled entry points and clear visitor procedures.
Review overnight risks
Move portable tools to a safer location when the site will be unattended.
Check equipment before closing
Confirm that tools, batteries, attachments, and machine keys are accounted for.
Control Tool Checkout, Transfers, and Returns
A tool checkout system creates a clear chain of custody. It shows who received a tool, where it went, and when it should come back. This reduces confusion and makes missing tools easier to trace.
A paper log may work for a small shop. A mobile app may be better for a business with several crews and locations. The key is to use one clear process and make sure workers follow it.
Do not rely on verbal handovers. When one worker gives a tool to another, record the change. The person receiving it should confirm the transfer. This creates a clear record if the tool later goes missing.
Record the tool ID
Use the unique asset number or scan the tag before the tool leaves storage.
Record the user
Save the name or approved worker ID of the person receiving the tool.
Record the destination
Include the jobsite, vehicle, team, or department.
Set a return date
Give the tool a clear expected return time or project end date.
Confirm the return
Check the tool’s condition and update its location when it comes back.
Create a Simple Check-In and Check-Out Process
Keep the process short. Workers should be able to record a tool movement without a long form or a difficult approval process. A slow system may lead people to skip it.
Use the same steps for every team. If one crew uses a paper log and another uses a mobile app, make sure both records update the same asset list.
For shared tools, assign a team or work area as the temporary custodian. This is better than leaving the assigned user field blank.
Before checkout
Confirm the tool ID, condition, accessories, and current location.
During transfer
Record the new user and destination.
At return
Confirm the item is present, update its condition, and close the checkout record.
Track Kits and Shared Equipment
Some work requires a group of tools rather than one item. A plumbing kit, electrical kit, or service case may contain several valuable pieces.
Give each kit its own ID. Keep a list of the tools inside it. A scan of the kit should help the worker check that all required items are present.
When one item leaves the kit, record it as a separate movement. This prevents a missing drill or meter from being hidden inside a general kit record.
Create a kit list
Record each tool and important accessory inside the kit.
Check before travel
Confirm the full kit before it leaves the shop or vehicle.
Check after use
Compare the returned items with the original kit list.
What to Do When a Tool Is Missing or Stolen
A fast and calm response can improve the chance of finding a missing tool. Start by checking the last known location and the most recent checkout record. Do not assume theft until reasonable checks have been made.
If theft is suspected, protect people first. Do not confront a suspected thief or enter private property to recover equipment. Contact local law enforcement and follow the business incident plan.
Good records make this process easier. Keep serial numbers, asset IDs, photos, receipts, and tracker details ready before an incident occurs. This avoids a long search for basic information during a stressful event.
Confirm the loss
Check the storage area, vehicle, worksite, last assigned user, and recent movement records.
Secure related property
Check other tools and equipment in the same area. Review access and lock storage where needed.
Report the theft
Contact the local police department and provide accurate information about the missing property.
Contact the insurer
Follow the policy’s reporting rules and provide the records requested by the insurer.
Update the inventory
Change the asset status to missing or stolen and keep the incident details.
Share identifying details
Provide useful photos, serial numbers, model details, unique marks, and tracking information to the proper authorities.
Prepare a Complete Theft Report
A theft report should give the police enough detail to identify the tool. Do not rely on a general description such as a cordless drill or portable generator.
Include the manufacturer, model, serial number, company asset ID, color, visible marks, and purchase details. Add clear photos from more than one angle when available.
If a tracking device shows a location, share the data with law enforcement. Do not use the location to approach a suspected thief or attempt an unsafe recovery.
Item details
Provide the exact model, serial number, asset ID, and a clear description.
Proof of ownership
Include receipts, invoices, warranty records, or other valid ownership documents.
Incident details
Record the last known location, time, and circumstances of the loss.
Tracking records
Save relevant alerts and location history without changing or deleting the original records.
Update the System After Recovery
If a missing tool is recovered, do not place it straight back into normal use. First confirm its identity and ownership. Check for damage, missing parts, or signs that someone changed its serial number or tracking device.
Update the asset status and record the recovery date. Keep the incident history for future reviews. If a smart tool was locked remotely, follow the manufacturer’s approved process before returning it to service.
If the tool may have been tampered with or damaged, have it checked by a qualified service provider before use.
Verify ownership
Compare the tool with its original serial number, asset ID, and photographs.
Inspect its condition
Check the housing, power system, safety features, and accessories.
Close the incident
Record the recovery and keep the original theft report and related documents.
Prioritize Tools by Theft Risk and Replacement Cost
Not every tool needs the same level of protection. A useful security plan considers both the value of an item and how easy it is to move or sell.
A large machine may cost more than a hand tool, but it may also be hard to move. A portable saw, battery kit, or generator may be easier to remove from a worksite. This means price alone should not decide which items get trackers or stronger storage.
Create an internal risk score to help managers set priorities. The score below is a simple planning method, not an industry standard or a prediction of theft.
Replacement value
Consider the cost and time needed to replace the tool.
Portability
Consider whether one person can carry it or whether it needs a vehicle or lifting equipment.
Resale appeal
Consider whether the item is common, easy to resell, or easy to remove from its normal setting.
Exposure
Consider whether the tool stays in an open jobsite, vehicle, yard, or public area.
Business impact
Consider whether losing the tool could stop work or delay an important project.
Use a Simple Internal Risk Score
Give each factor a score from one to three. A score of one means low concern. A score of three means high concern. Add the scores to help compare tools.
For example, a portable professional saw may receive three points for portability, two for replacement value, and three for exposure. Its total is eight. A large machine that stays inside a locked yard may receive a lower total.
This score is only a way to sort items for review. It does not show the real chance of theft. Adjust the factors to match the business and local work conditions.
Low priority
Use basic asset identification, normal storage controls, and planned inventory checks.
Medium priority
Add durable tags, clear checkout records, and stronger storage controls.
High priority
Consider dedicated tracking, movement alerts, stronger locks, and more frequent checks.
Match Security Spending to the Risk
A business should compare the cost of protection with the value and role of the asset. A dedicated tracker may make sense for a costly generator that moves between remote sites. It may not make sense for every low-cost hand tool.
Consider the full cost of a tracking system. Include hardware, installation, software, service plans, staff training, and maintenance. A low purchase price may not mean a low long-term cost.
Protect high-risk assets first
Start with portable, valuable tools that spend time in exposed areas.
Use simple controls for common tools
Use clear markings, kits, and check-in records for lower-cost items.
Review the plan
Change security levels when equipment moves to a new site or business needs change.
Common Tool Theft Prevention Mistakes
A security system can fail when the business does not use it every day. Buying tracking devices or adding labels is only the start. The records must stay accurate, and workers must follow the same process.
The most common weaknesses come from poor records, weak storage rules, and unclear responsibility. A simple process that staff use is often more useful than an advanced system that nobody updates.
Tracking tools without registering them
Some connected tools need to be added to the owner’s inventory before their tracking or security features work. Follow the exact setup steps for the system.
Using weak labels
Low-quality labels may fade, peel, or become hard to scan. Choose tags that fit the real work conditions.
Ignoring small tools
Many small losses can add up. Include common hand tools and batteries in the inventory plan.
Leaving checkout records open
An item may appear assigned to a worker long after it has been returned. Close each record when the tool comes back.
Using only one security method
A tracker can be removed. A lock can be broken. Use several suitable security layers.
Failing to check tracking alerts
An alert has little value if nobody reviews it or knows how to respond.
Keeping no ownership proof
A business may struggle to identify or recover a tool when it has no receipt, photo, or serial number record.
Avoid Privacy and Data Security Problems
Asset tracking can collect location and user activity data. Businesses should explain what is tracked, why it is tracked, who can see it, and how long records are kept.
Do not use an equipment tracker to secretly monitor workers or their personal property. Set a clear policy and seek qualified legal advice when workplace monitoring rules are unclear. State and local rules may differ.
Protect the inventory system itself. Use strong passwords, approved user accounts, and suitable access limits. A stolen login could expose asset locations and other business information.
Limit access
Give each worker only the access needed for the job.
Protect accounts
Use strong passwords and extra login protection where available.
Set clear policies
Explain tracking, record access, and data retention to staff.
Do Not Buy Used Tools Without Checking Ownership
A business can also face problems when buying stolen tools without knowing their history. Be careful when a seller cannot provide proof of ownership or when the price seems far below normal market value.
Check the serial number and product details where possible. Ask for a receipt or other proof of ownership. If the item appears to have altered identification marks, do not ignore the warning signs.
When an item may be stolen, avoid buying it and contact the appropriate authorities. Do not try to investigate a suspected seller yourself.
Check the serial number
Look for missing, changed, damaged, or removed identification marks.
Ask for purchase proof
Request a receipt or other reliable record that supports the seller’s ownership.
Keep the transaction record
Save the seller details, purchase record, and item description for legitimate purchases.
How to Start a Tool Theft Prevention Program
A business does not need to change every process at once. Start with a basic inventory, mark the most important tools, and improve storage rules. Then add tracking where it offers clear value.
Give one person responsibility for the program. This person should maintain the inventory, review missing items, manage tags, and check whether staff follow the rules.
Keep the rollout practical. Test the process with one team or storage area before expanding it. Ask workers what makes tool tracking hard and remove steps that do not add value.
Step 1: Count the tools
List owned and leased equipment. Check serial numbers and take clear photos.
Step 2: Set asset IDs
Create unique codes and apply suitable tags to the items that need tracking.
Step 3: Set storage rules
Choose secure storage areas and assign access rights.
Step 4: Start checkout records
Use a simple process to record tool movement between workers and locations.
Step 5: Add tracking where needed
Choose barcode, RFID, Bluetooth, or GPS based on the asset’s needs.
Step 6: Train the team
Show workers how to scan tools, report missing items, and secure equipment.
Step 7: Review results
Check inventory accuracy, missing items, damaged tags, and storage practices.
A Practical 30-Day Implementation Plan
A short rollout can help a business build good habits without disrupting normal work. The following plan is a suggested starting point. Adjust it to the size of the inventory and the number of work locations.
Days 1 to 7: Inventory
Count tools, record serial numbers, collect purchase records, and take photos.
Days 8 to 14: Identification
Create asset IDs, apply suitable labels, and mark high-risk tools.
Days 15 to 21: Security
Review storage, vehicle security, access control, and checkout procedures.
Days 22 to 30: Training and review
Train staff, test the process, check records, and fix any gaps.
Signs That the Program Is Working
A useful program should make tools easier to find and account for. It should also reduce confusion about who has each item and where it belongs.
Review the results over time. Look for better inventory accuracy, fewer unexplained losses, faster missing-tool reports, and fewer overdue returns. Do not judge success only by the number of tracking devices installed.
Accurate records
Physical tools match the inventory list.
Clear responsibility
Each high-value item has an assigned user or storage location.
Faster checks
Staff can confirm the location and status of tools without a long search.
Fewer record gaps
Transfers, returns, and repairs are recorded on time.
Better incident response
The business can quickly provide photos, serial numbers, and proof of ownership.
Frequently Asked Questions
Q
What Is the Best Way to Prevent Tool Theft?
The best approach combines several security methods. Start with a complete inventory, unique asset IDs, and clear ownership marks. Add secure storage, controlled access, and tool checkout records. Use GPS, Bluetooth, or smart tool security for valuable items when the features fit the business.
No single device can prevent every theft. A layered plan is more useful because it protects tools before a theft and helps identify them if they go missing.
Q
How Do I Identify My Tools if They Are Stolen?
Record the manufacturer, model number, serial number, company asset ID, and clear photos of every valuable tool. Add visible company marks and a second identifying mark where suitable. Keep purchase receipts and warranty records in a secure place.
If a tool is stolen, provide these details to local law enforcement and your insurer. Tracking information may also help when it is available.
Q
Are GPS Trackers Better Than Bluetooth Tags for Tools?
Neither option is best for every tool. GPS and cellular trackers can be useful for mobile equipment that travels over large areas. Bluetooth tags can help with smaller tools and nearby location checks through compatible devices.
Compare signal coverage, battery life, service costs, device size, and update frequency before choosing. Both systems have limits and should support, rather than replace, physical security.
Q
How Often Should a Business Perform a Tool Inventory?
The right schedule depends on the number of tools, their value, and how often they move. High-value and portable tools may need daily or weekly checks. A full inventory can be completed on a regular monthly or quarterly schedule, depending on business needs.
Always update records when tools are purchased, moved, repaired, returned, sold, or disposed of. Do not wait for the next full inventory to record a change.
Q
Can Asset Tags Stop Someone From Stealing a Tool?
An asset tag alone cannot stop theft. It helps identify the tool and connect it to the owner’s records. Visible markings may also discourage some theft and make resale harder.
Use tags with locks, secure storage, access control, and tracking where suitable. A hidden identification mark can also help confirm ownership if the main tag is removed.
Q
What Should I Do First When a Work Tool Goes Missing?
Check the last known location, recent checkout records, and the worker who last used the item. Review nearby storage and vehicle records. If theft is suspected, secure related property and contact local law enforcement.
Prepare the tool’s serial number, asset ID, photos, purchase proof, and any relevant tracking information. Do not confront a suspected thief or attempt an unsafe recovery.
✦ Wrapping Up
Conclusion
Tool theft prevention starts with knowing what a business owns. Every valuable tool should have a clear identity, a reliable inventory record, and a planned storage location. These basic steps make it easier to spot missing equipment and prove ownership.
The next step is to build layers of security. Use suitable tags, clear checkout records, locked storage, vehicle protection, and tracking technology where needed. Give workers simple rules and make one person responsible for keeping the system up to date.
A good asset management program should fit the way the business works. It should protect valuable tools without making daily tasks harder. Regular checks, clear records, and quick action can reduce avoidable losses and help work continue when problems occur.
💡 Key Takeaway
Start with a physical count of your tools. Record each item’s model and serial number, take clear photos, and give it a unique company asset ID. Then set up secure storage and a simple checkout process before investing in advanced tracking technology.
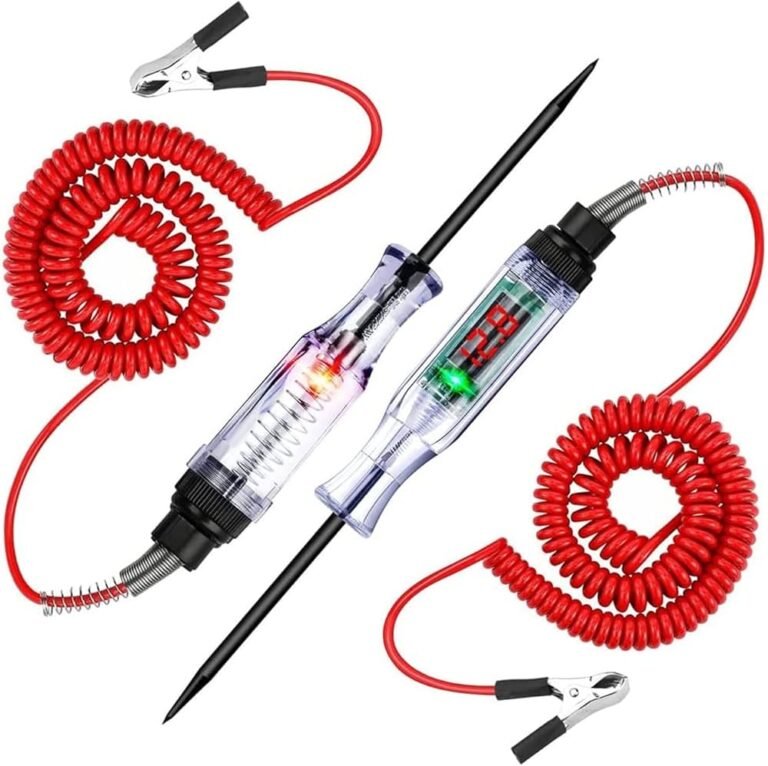
Learn when to use a circuit tester vs voltage tester, key differences, safety tips, and pro recommendations to pick the right tool for any electrical job.