Place the level, center the bubble, flip to check, and adjust until both readings match.
I have used spirit levels for years in carpentry, remodeling, and DIY work. This guide explains how to use a spirit level correctly with clear steps, common pitfalls, and pro tips you can apply right away. Read on to learn how to pick the right level, how to read vials, how to check calibration, and how to get repeatable, accurate results every time.

Understanding the spirit level and how it works
A spirit level is a simple tool that shows when a surface is flat or plumb. It uses a slightly curved glass vial filled with liquid and an air bubble. When the bubble sits between marking lines, the surface is level or plumb.
Key parts to know:
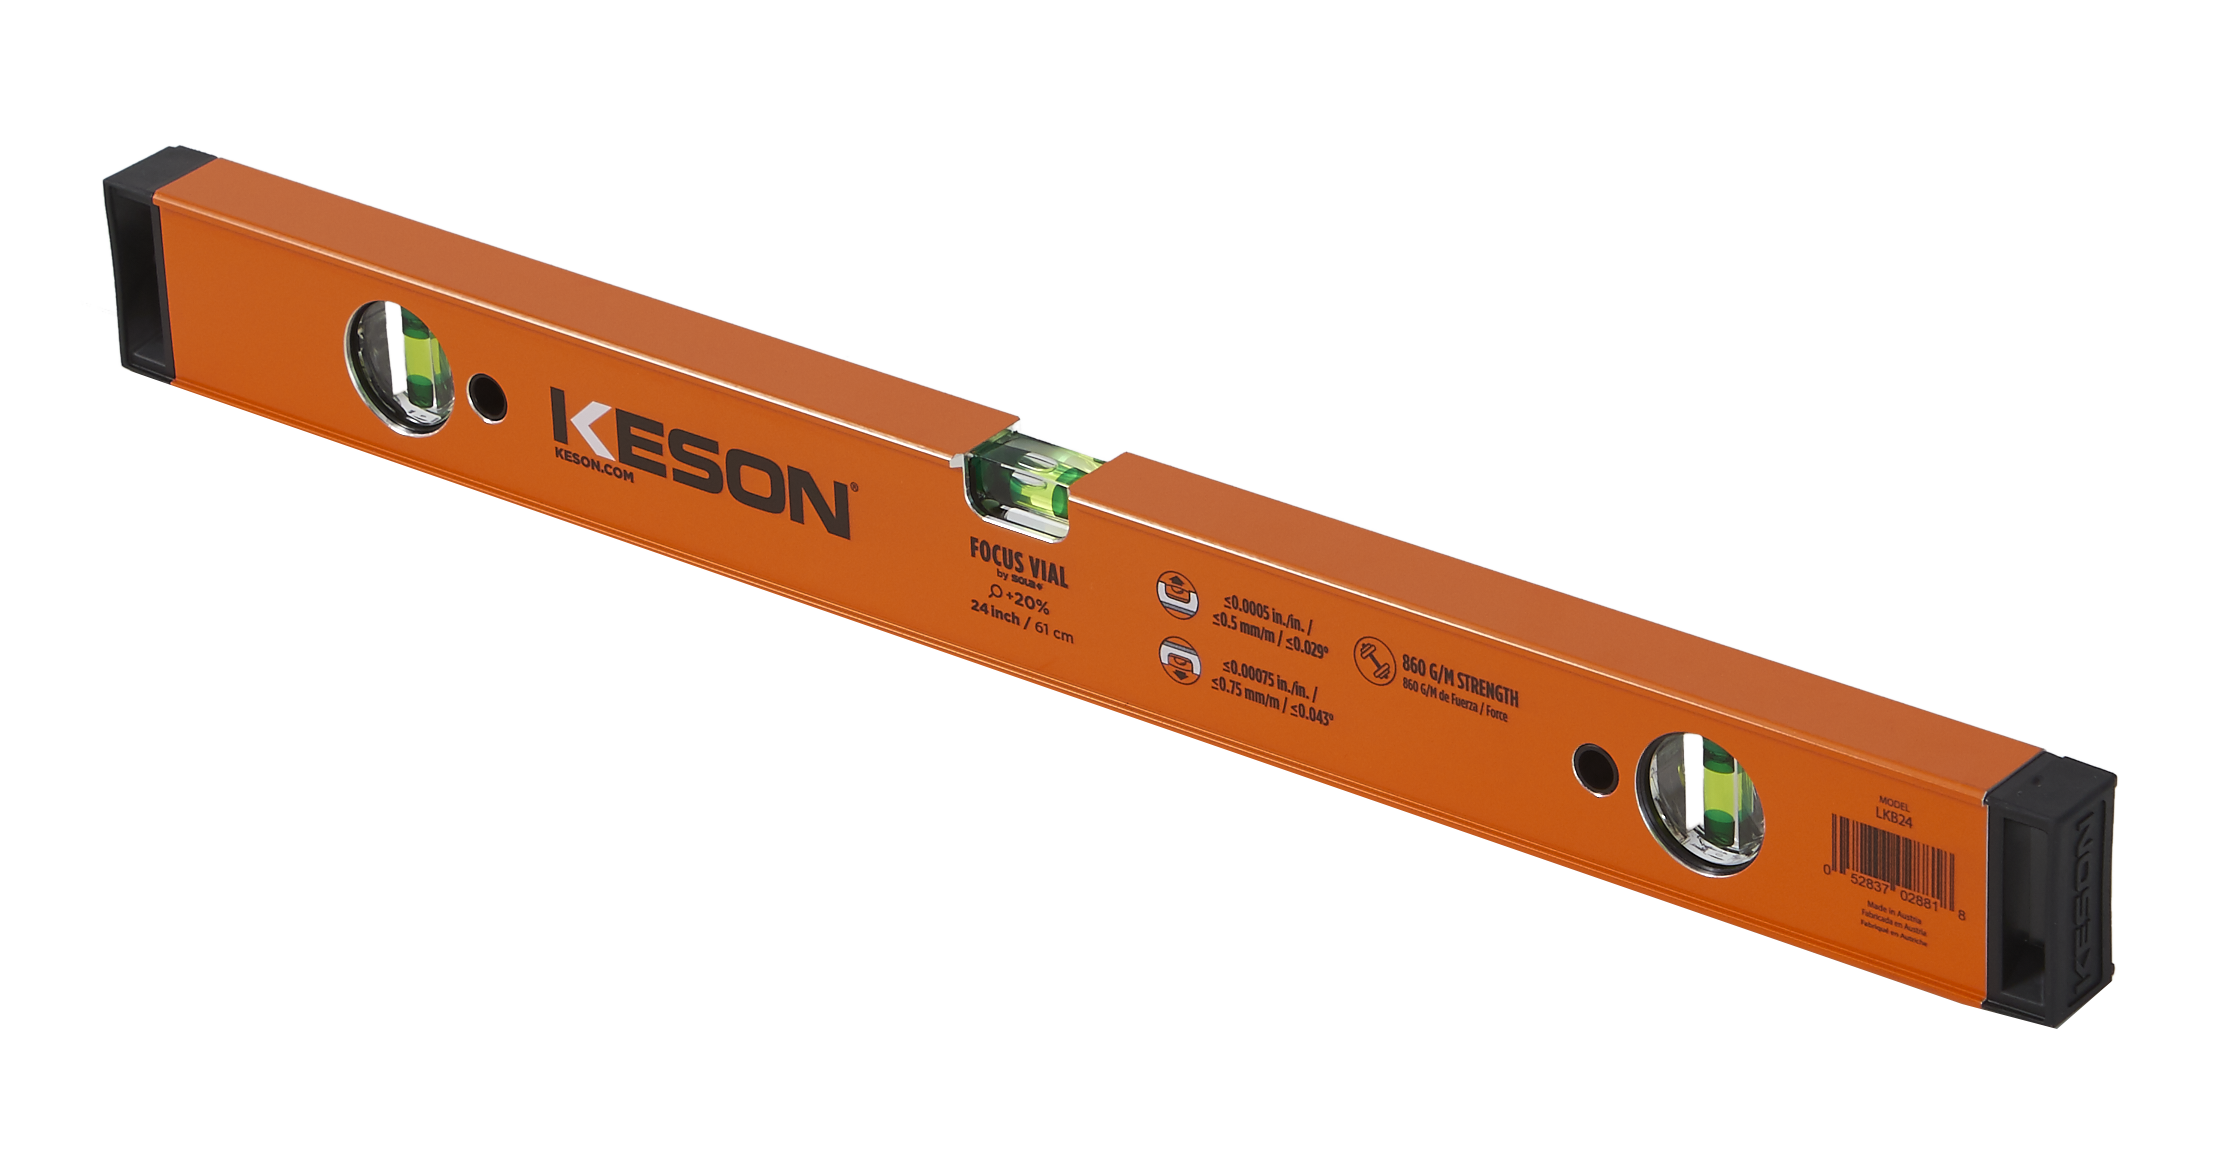
- Vial or bubble tube — the curved glass that holds the liquid and bubble.
- Marking lines — the two lines that center the bubble at true level.
- Body or frame — usually aluminum or plastic, often with a hollow for long work.
- End caps or magnetic strips — used for positioning on metal surfaces.
Why understanding matters: if you know which vial reads horizontal, vertical, or angle, you avoid false reads. Learning how to use a spirit level correctly means reading the vial, checking both directions, and trusting repeatable results.

Choosing the right spirit level for the job
Pick a level that matches the task. Different types work better for specific jobs.
Common types:
- Torpedo level — short and handy for tight spaces and quick checks.
- Box beam or I‑beam level — long, rigid, and good for fitting cabinets or door frames.
- Mason’s level — robust and often longer, for masonry and framing.
- Engineer’s level — precise, used in layout and heavy work.
- Magnetic level — ideal for metal work and HVAC tasks.
How to decide:
- For hanging pictures or shelves, a 24-inch level is versatile.
- For setting door frames, 48 inches gives better accuracy across distance.
- For plumbing runs or metal ducts, use a magnetic torpedo.
Choosing well is the first step to learning how to use a spirit level correctly. The right tool reduces rework and speeds the job.

Step-by-step: how to use a spirit level correctly on any surface
These steps give repeatable, accurate checks. Follow them in order.
- Prepare the surface
- Clean the surface of dust and debris.
- Remove paint blobs or packing tape that change the contact plane.
- Position the level
- Lay the level on the surface you want to check.
- Use the vial for the direction you need: horizontal, vertical, or 45 degrees.
- Read the bubble
- Let the bubble settle. If it centers between lines, the surface is level or plumb.
- Read from directly above the vial. Angled viewing causes parallax error.
- Flip check (calibration check)
- Rotate the level 180 degrees on the same spot and read again.
- If the bubble centers in both positions, the level is accurate.
- If the readings differ, average them or calibrate/replace the level.
- Adjust and recheck
- Make small adjustments to the surface or fasteners.
- Recheck until the bubble centers in both orientations.
- For long runs
- Use a longer level or strike a laser line, then confirm with the spirit level.
- Take readings at multiple points and check consistency.
Practical tips:
- Support the ends of a long level; sag causes error.
- Use two people for long placements to keep level flush and steady.
- For best accuracy, use the level at room temperature; extreme cold or heat can shift the bubble slightly.
Repeating these steps helps you learn how to use a spirit level correctly and get consistent results.

Tips, common mistakes, and troubleshooting
Simple errors cause wrong reads. Watch for these and fix them fast.
Common mistakes:
- Reading from an angle. Always look straight down at the vial.
- Dirty or nicked edges. They throw off contact and the reading.
- Using a warped level. A bent frame gives wrong results over distance.
- Ignoring flip checks. Skipping the 180-degree test hides calibration issues.
Maintenance tips:
- Keep vials clean and scratch free.
- Store the level flat or hung on a wall to avoid bending.
- Check calibration periodically by comparing to a trusted surface or another level.
- Replace worn end caps and damaged vials.
Troubleshooting quick fixes:
- If two readings don’t match, average the values or recalibrate.
- If bubble moves slowly or sticks, warm the level slightly and clean the vial.
- If magnetic strip pulls the level out of plane, support with small blocks to keep it flat.
PAA-style questions people also ask:
How do I know if my level is accurate?
Do a flip check: read the vial, rotate the level 180 degrees in the same place, and read again. Matching readings mean the level is accurate.
How often should I calibrate a spirit level?
Check calibration before critical layouts and after drops or heavy use. Monthly checks are good for professionals.
Can a spirit level be used on curved surfaces?
You can check local flatness, but for curved surfaces a long straightedge plus the level is better for overall accuracy.
My experience: lessons learned and real-world examples
I learned how to use a spirit level correctly the hard way. Early on I trusted a cheap level and ended up redoing a cabinet run. That taught me three things:
- Invest in a sturdy level. It pays off in fewer mistakes.
- Always do a flip check before a big layout.
- Use longer levels for longer spans to avoid small slope errors building up.
Example project: I installed floating shelves across a 10-foot span. I used a 48-inch level and a laser for reference. I marked the laser line, then used the spirit level at three points to confirm. This saved me from a bowed install and made the shelves straight to the eye and to the tape measure.
Personal tips:
- Carry a torpedo level in your tool belt for quick checks.
- Use a clamp to hold the level steady when marking holes.
- Mark calibration checks on the level with a fine pen so you know recent test dates.

Safety, limitations, and when to use a laser level
A spirit level is simple and reliable but has limits. It reads short runs and local plumb or level well.
Limitations:
- Less accurate over long spans than a laser or transit.
- Prone to error if the body is bent or ends rest on uneven points.
- Vials can fog, crack, or shift over time.
When to use other tools:
- Use a laser level for long runs and fast layout across rooms.
- Use a transit or digital level for high-precision jobs in construction.
- Use spirit levels for quick checks, trim work, and small installs.
Safety notes:
- Don’t rely on a level alone for structural checks. Follow building codes and use proper instruments for load-bearing work.
- Keep hands away from pinch points when clamping the level.
Using a spirit level is a skill. Knowing its limits helps you know when to use something else.

Frequently Asked Questions of how to use a spirit level correctly
What is the easiest way to read a spirit level vial?
Stand directly above the vial and read the bubble when it centers between the lines. Avoid angling your head to prevent parallax.
How do I check if my spirit level is accurate?
Place it on a flat surface, read the bubble, rotate the level 180 degrees, and read again; matching readings indicate accuracy.
Can a spirit level be recalibrated?
Some levels offer adjustable vials you can realign. For most simple levels, replace the vial or the level if it’s out of calibration.
How do I use a spirit level on a metal pipe?
Use a magnetic level or hold a regular level with blocks to avoid the magnet pulling it out of plane; verify with a flip check.
What length level should I use for door installation?
A 48-inch level is a good choice; it spans most door frames and offers better accuracy than a short level.
How often should I replace my spirit level?
Replace it when the frame is bent, the vials are damaged, or calibration cannot be restored; heavy users often replace levels every few years.
Conclusion
Mastering how to use a spirit level correctly is about simple habits: pick the right tool, read vials straight on, do a flip check, and maintain your level. These small steps save time and create professional results. Try the flip check on your next project, invest in a quality level, and share what you learn. If this guide helped, subscribe for more practical tips or leave a comment with your leveling questions.