Use gauges, temperature splits, and leak checks to verify HVAC refrigerant levels accurately.
I’ve spent years working on residential and light commercial HVAC systems. In this guide I show step-by-step how to check refrigerant level HVAC systems safely and confidently. You’ll get the tools list, clear pressure and temperature checks, how to read superheat and subcooling, and practical tips from real service work to avoid common mistakes. Read on to learn both the how and the why so you can diagnose refrigerant issues like a pro.
Why checking refrigerant level matters
Refrigerant level affects comfort, efficiency, and compressor life. Low or high refrigerant can cut cooling capacity, raise energy bills, and cause parts to fail.
Knowing how to check refrigerant level HVAC systems helps you spot leaks, set proper charge, and prevent bigger repairs. Regular checks catch problems early and keep systems running safely. This protects equipment and reduces monthly costs.

Tools and equipment you need
Use the right tools before you check refrigerant level HVAC systems. Here’s what I always carry to a service call.
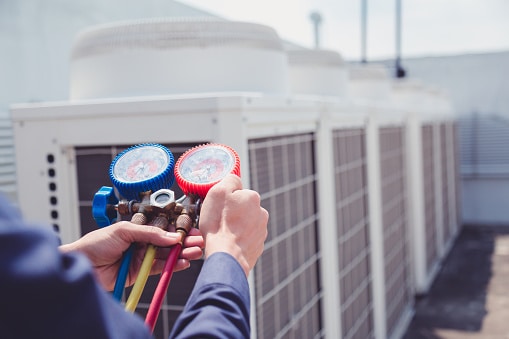
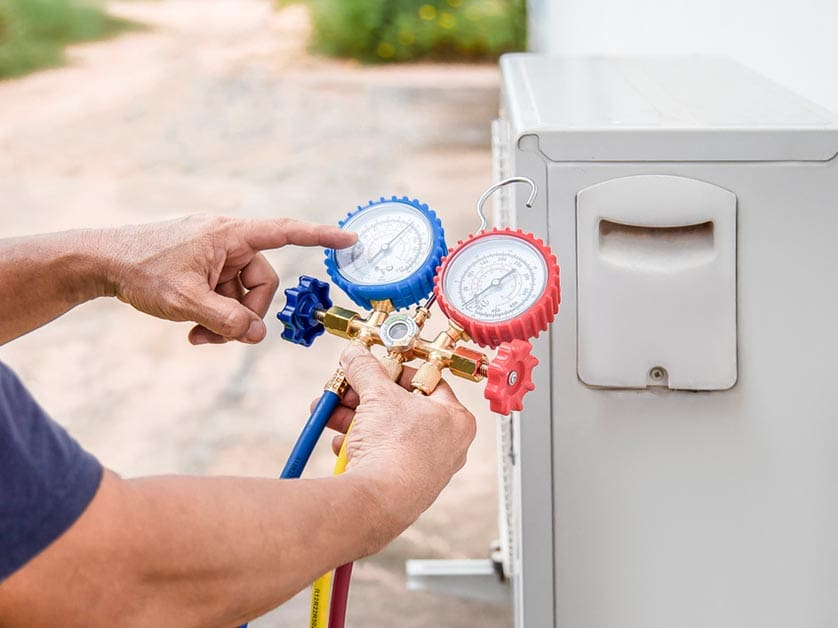
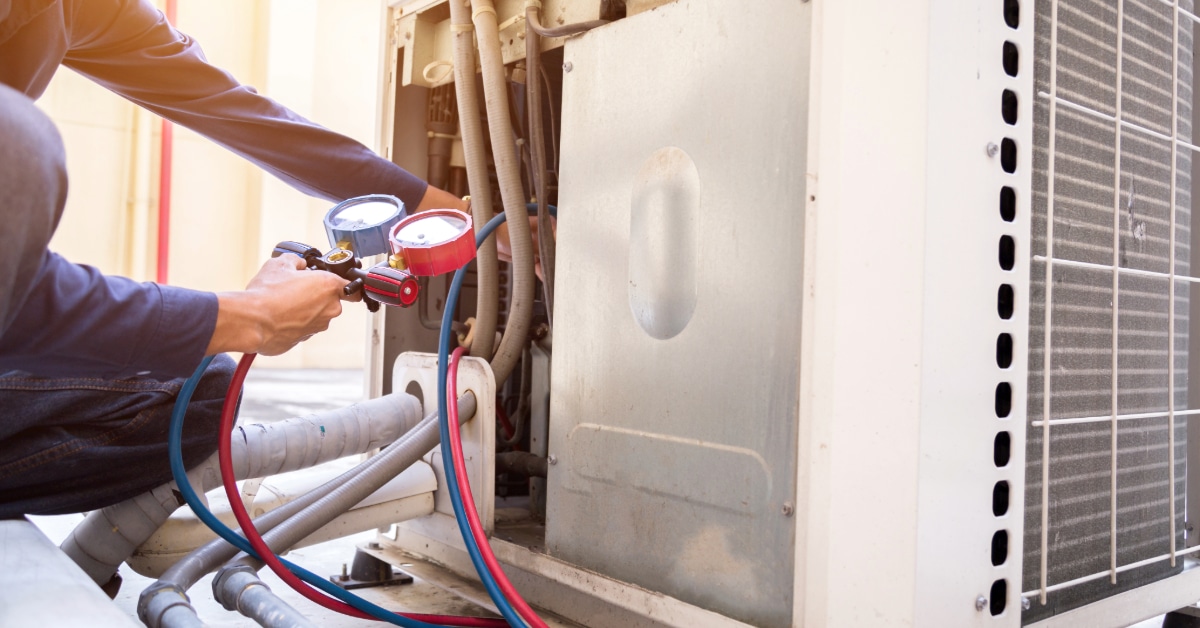
- Manifold gauge set with appropriate hoses and fittings.
- Digital scale for weighing refrigerant when charging or recovering.
- High-accuracy thermometers or infrared gun to measure evaporator and condenser temps.
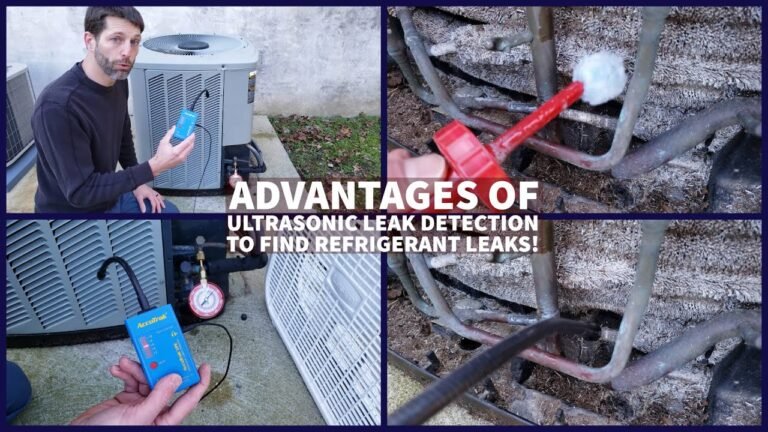
- Leak detector (electronic or bubble solution) to find leaks.
- Service valves, core removal tools, and refrigerant recovery machine when required.
- Personal protective equipment: gloves, safety glasses, and a mask.
Having calibrated tools ensures readings are reliable. Cheap gauges or noisy detectors can lead you astray when you check refrigerant level HVAC units.
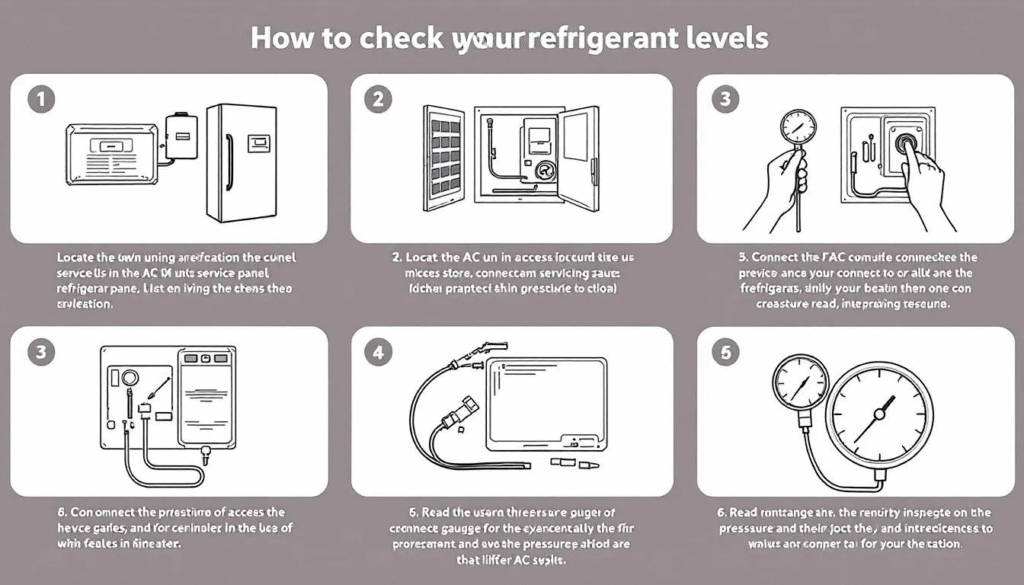
Step-by-step: how to check refrigerant level HVAC
Follow a clear sequence for safe and accurate checks. I use this checklist on every job.
- Visual and safety check
- Turn off power at the disconnect. Inspect coils, fins, and filters. Look for obvious oil stains that suggest leaks.
- System run and baseline readings
- Restore power and run system in cooling for 15 minutes. Measure supply and return air temperatures to get the temperature split.
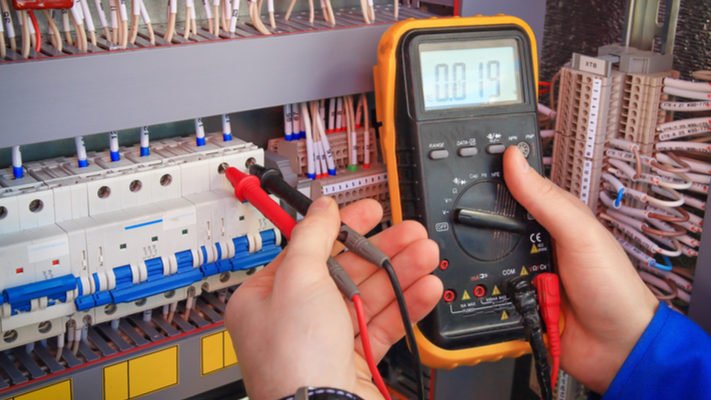
- Connect gauges correctly
- Attach low and high side hoses to service ports. Use manifold gauges made for the refrigerant type. Record static (off) and running pressures.
- Measure superheat or subcooling
- For TXV/modern systems measure superheat at the evaporator outlet. For fixed-orifice systems measure subcooling at the liquid line. Compare to manufacturer specs.
- Weigh-in or recover if needed
- If charging, weigh refrigerant in with a digital scale to match target charge. Recover refrigerant with approved recovery equipment if removing charge.
- Leak check and documentation
- Use an electronic detector or soap to check fittings and coils. Document pressures, temps, and the final charge.
When you follow these steps you can reliably determine refrigerant condition and quantity. Practicing these steps builds speed and confidence when you check refrigerant level HVAC systems.
 interpret readings (pressures, superheat, subcooling)”
style=”max-width: 100%; height: auto; border: 2px solid black; border-radius: 10px; display: block; margin: 0 auto;”
loading=”lazy”
/>
How to interpret readings (pressures, superheat, subcooling)
Knowing what numbers mean is key. Simple ranges help you decide the next step.
- Pressure readings vary by refrigerant and ambient temperature. Use refrigerant pressure-temperature charts as a baseline.
- Superheat targets often sit between 8 and 15°F for many R-410A systems with TXVs. Higher superheat suggests low charge or poor airflow.
- Subcooling targets often fall between 8 and 15°F for many systems. Low subcooling usually means low charge; high subcooling can mean overcharge or poor condenser performance.
- Temperature split (return minus supply) of 15–22°F commonly indicates normal operation for many residential systems. A much smaller split can mean low refrigerant or airflow issues.
Always cross-check: a low suction pressure plus low superheat often indicates restricted metering. Low suction pressure plus high superheat points to low charge. Use the full picture before deciding how to fix the system.
Diagnosing low vs high refrigerant and common causes
Symptoms point the way. Here are clear signs and likely causes.
- Signs of low refrigerant
- Weak cooling, frosting on evaporator coil, high compressor discharge temperature, high superheat. Likely cause: leak or undercharge.
- Signs of high refrigerant (overcharge)
- Poor cooling, high head pressure, short cycling, low subcooling. Likely cause: overcharging during service or refrigerant migration in heat pump.
- Other causes that mimic charge issues
- Dirty coils, clogged filters, or blower problems can look like low refrigerant. Always rule out airflow and component failures before recharging.
When diagnosing, I always fix airflow and clean coils first. This avoids needless refrigerant adjustments and repeat calls.

Safety, legal, and environmental considerations
Handling refrigerant has rules and risks. Respect them.
- Certification required
- In many regions, technicians must hold a refrigerant handling certification to purchase or work with regulated refrigerants. Follow local laws.
- No venting to the atmosphere
- Recover and recycle refrigerant with approved equipment. Venting is illegal and harms the environment.
- Use PPE and proper procedures
- Refrigerant can cause frostbite, respiratory irritation, and flammability risks with some blends. Work in well-ventilated areas and wear gloves and eye protection.
Follow legal and safety rules every time you check refrigerant level HVAC systems to avoid fines, injuries, and liability.
Quick answers (PAA-style questions)
How long should I run the system before checking refrigerant?
Run the system for 10–20 minutes at stable outdoor conditions to reach steady-state. Short runs give misleading pressures.
Can I check refrigerant level HVAC systems without gauges?
You can observe symptoms and temperature split, but gauges and thermometers are needed for accurate diagnosis. Visual checks alone are not reliable.
Is superheat or subcooling better to use?
Use superheat for fixed orifice evaporator systems and TXV-specific guidance for TXV systems; use subcooling when checking liquid line charge. Both give useful information.

Personal experience, tips, and mistakes to avoid
I’ve serviced hundreds of systems. Here are my best tips based on real work.
- Tip: Clean coils before accurate checks
- I once charged a system only to find output still low because the condenser was clogged. Clean coils first.
- Tip: Weigh refrigerant rather than “eyeballing” pressure
- I always weigh in refrigerant for accuracy. Once I fixed a unit that was “pressure-correct” but undercharged by weight.
- Common mistake: Charging by pressure alone
- Pressure varies with outside temperature. I avoid relying solely on static pressures to set charge.
- Practical habit: Log readings and photos
- I keep a service log with gauge pictures and temps. It helps diagnose recurring problems and proves the work done.
These habits reduce callbacks and build trust with customers when you check refrigerant level HVAC systems.

Additional maintenance and prevention tips
Keep systems healthy and reduce refrigerant issues with routine care.
- Replace filters every 1–3 months.
- Clean outdoor condenser annually.
- Inspect and tighten fittings during service visits.
- Schedule seasonal tune-ups to find small leaks early.
Routine care often prevents refrigerant loss and extends system life. Prevention saves money over time.
Frequently Asked Questions of how to check refrigerant level hvac
What tools do I need to check refrigerant level HVAC systems?
You need a manifold gauge set, thermometers, a digital scale for charging, a leak detector, and safety gear. These tools give accurate pressure, temperature, and weight data.
How do I measure superheat for a cooling system?
Measure suction line temperature at the evaporator outlet and subtract the evaporator saturation temperature from the pressure. The difference is the superheat.
Can low refrigerant damage my compressor?
Yes. Low refrigerant can cause high discharge temperatures and oil dilution, which can damage bearings and shorten compressor life.
How often should I check refrigerant levels?
Check during seasonal maintenance or when performance drops. Annual checks are common for preventive care.
Is it legal to add refrigerant myself?
In many places, only certified technicians can buy and handle regulated refrigerants. Check local laws before attempting to add refrigerant yourself.
Conclusion
Checking refrigerant level HVAC systems means using the right tools, following a clear step-by-step process, and interpreting pressures, superheat, and subcooling together. Clean coils and correct airflow must come first. Use calibrated gauges, weigh refrigerant when charging, and follow safety and legal rules. Start practicing these checks during routine maintenance to catch leaks early and protect system life. If you found this useful, try the steps on a service visit, subscribe for more HVAC how-tos, or leave a question below.